
>>

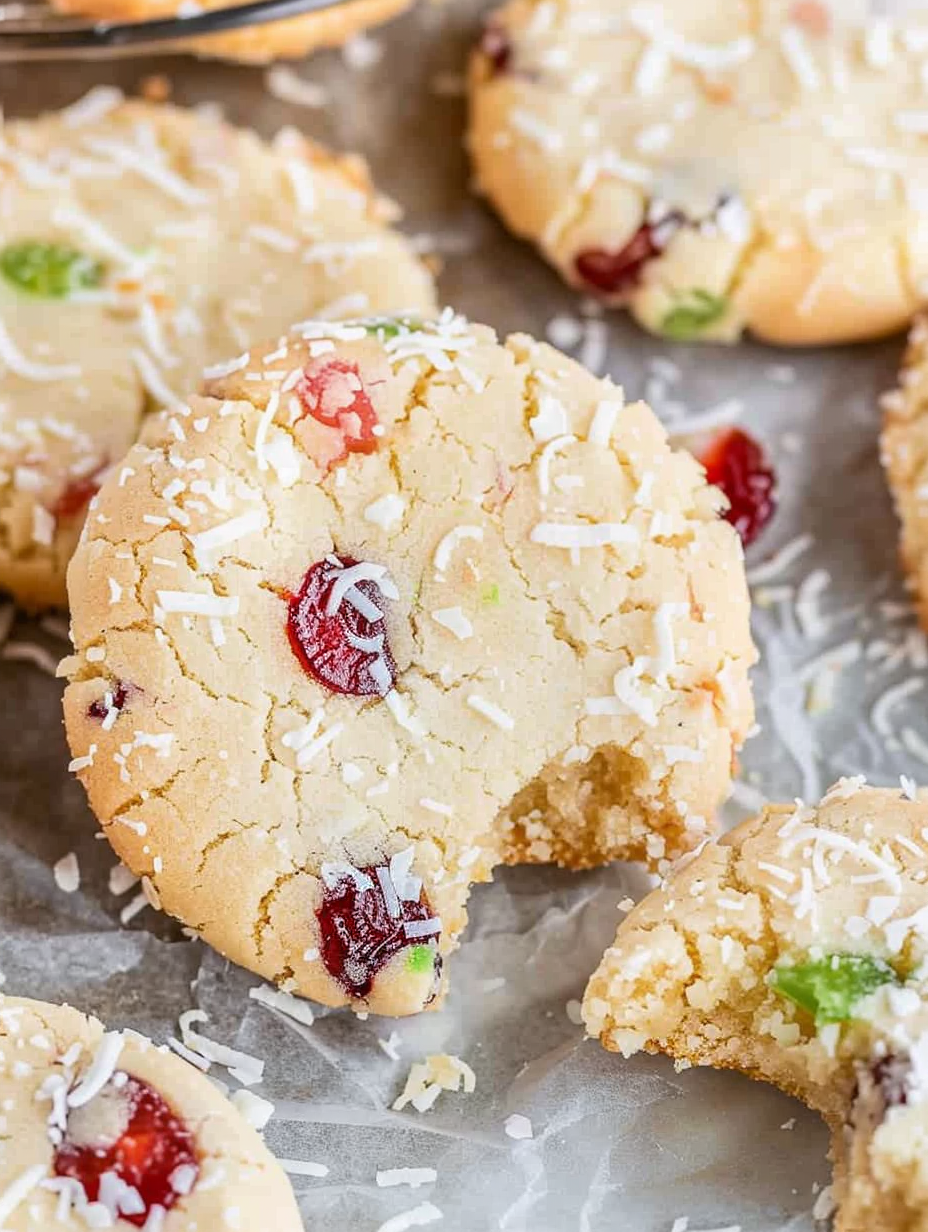
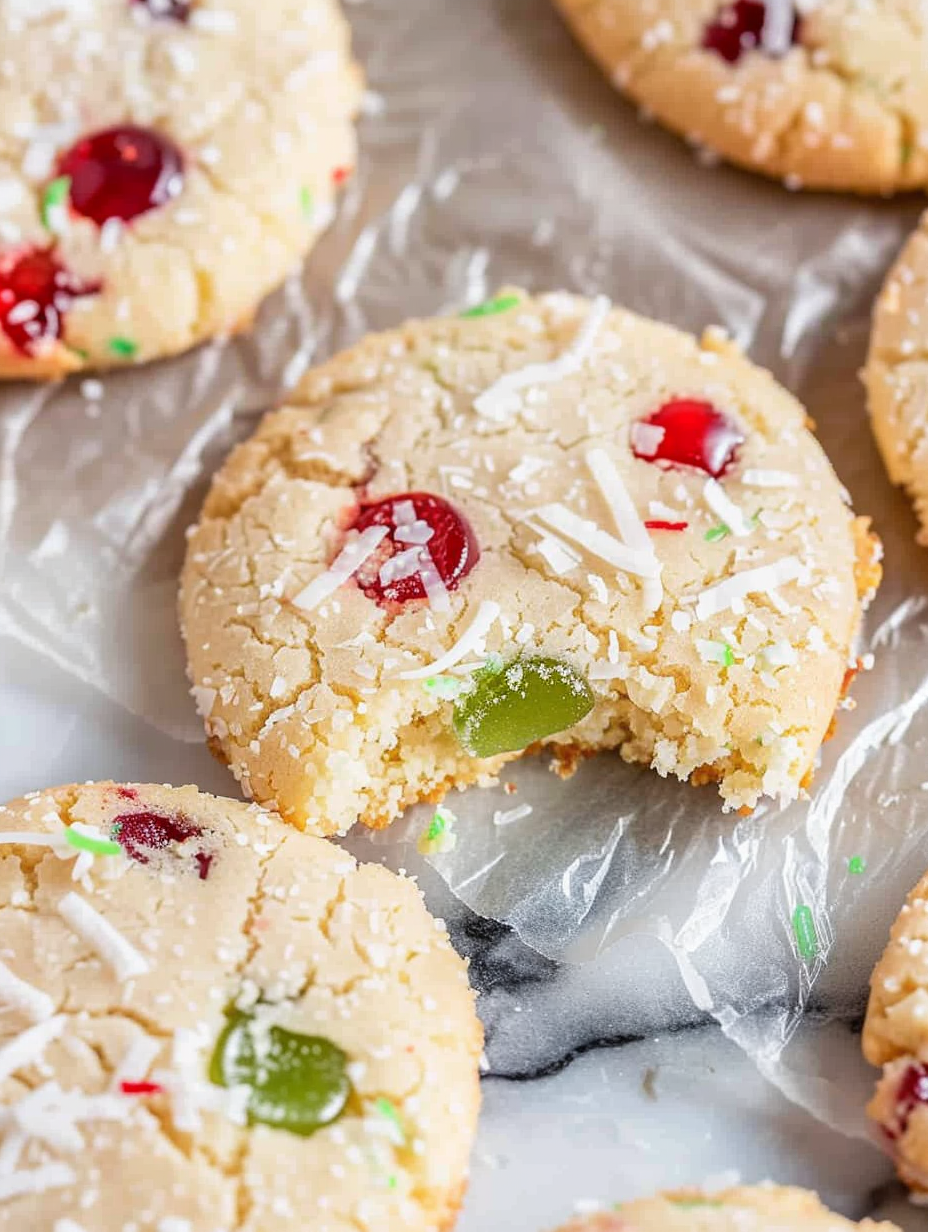
Slice-and-bake Santa’s Whiskers Cookies are buttery, almond-kissed icebox treats studded with candied cherries and rolled in sweet shredded coconut — a festive must for holiday cookie trays.
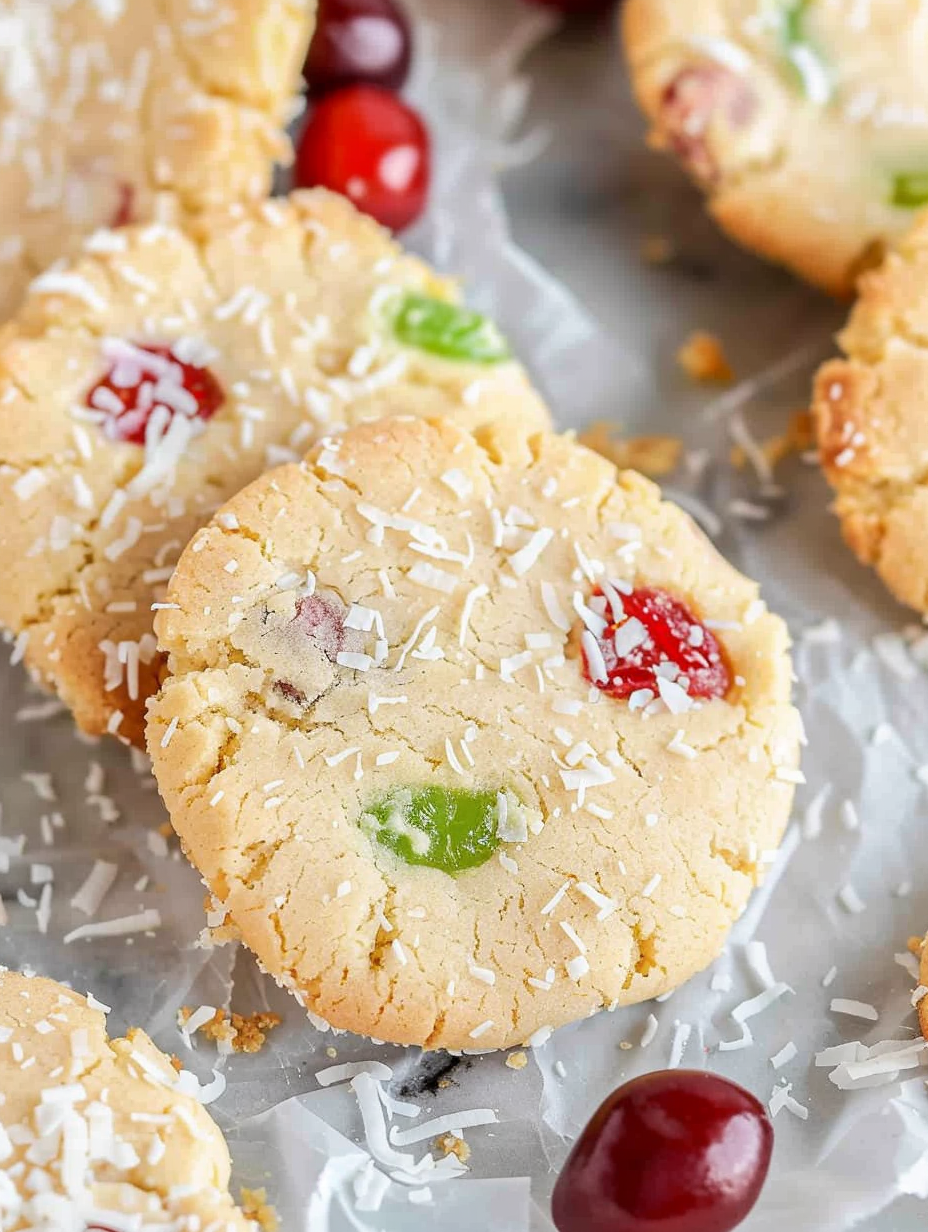
This recipe has been a holiday mainstay in my kitchen since I first made it on a snowed-in December afternoon. I discovered this combination while cleaning the pantry for a cookie swap and found a forgotten jar of almond extract and a bag of candied cherries. The first batch came out buttery and tender, with a subtle almond lift and bright pops of cherry; the shredded coconut gave each bite a snowy, festive crust. That first tray vanished before the oven had cooled, and since then these cookies — nicknamed Santa's Whiskers by my niece because the coconut looks like wispy white fur — show up at every holiday gathering.
What makes these cookies special is their simplicity and the old-fashioned slice-and-bake technique. The dough is forgiving: you mix, roll into logs, chill, and slice. The candied cherries provide juicy bursts and color, the almond extract lends a warm, nutty perfume, and the coconut adds texture and seasonal charm. They keep beautifully, travel well in a tin, and are forgiving if you want to prepare the logs in advance. I often make two batches: one to bake right away and one to stash in the freezer for last-minute guests.
Personally, I love how effortless these are to assemble after a busy day of holiday baking. My husband takes charge of slicing while I man the oven; together we fill the kitchen with laughter and warm cookie scents. Every year someone asks for the recipe, and every year it earns a spot on our cookie tray rotation.
My favorite part is how portable these are: they travel to neighbor visits and potlucks without losing charm. One year I forgot a tin on the porch and returned to find the lid licked clean — the coconut holds the candy pieces in place and keeps the look festive even after hours out of the fridge.
Store completely cooled cookies in an airtight container at room temperature for up to 5 days. For longer storage, freeze baked cookies in a single layer on a sheet until firm, then transfer to a freezer-safe container for up to 3 months. To freeze unbaked logs, wrap tightly in plastic wrap, then in foil; thaw in the refrigerator overnight before slicing and baking. When reheating cooled cookies, warm briefly at 275°F for 4-6 minutes to refresh the texture without drying them out.
Swap the almond extract for additional vanilla if nut sensitivities are a concern; the cookies will be milder but still aromatic. Use gluten-free 1:1 flour blend instead of all-purpose to make them gluten-free — the texture will be slightly crumblier. For a dairy-free version, replace butter with a neutral-flavored vegan stick butter (measure cup for cup) and check coconut and cherries for cross-contamination. If you prefer a less sweet exterior, use unsweetened shredded coconut and dust lightly with sugar after baking.
Serve on a holiday platter with a mix of chocolate-dipped cookies and shortbread for visual contrast. These pair beautifully with hot cocoa, mulled cider, or a lightly spiced coffee. Garnish the tray with fresh rosemary sprigs to mimic evergreen and add a fragrant note. For a kids’ party, arrange the cookies with red and green candies and a small bowl of whipped cream for dipping.
Slice-and-bake cookies, often called icebox or refrigerator cookies, originated in the early 20th century as a convenient method to shape dough ahead of baking. Holiday versions studded with candied fruit and rolled in coconut became popular in American kitchens through mid-century cookbooks and community bake sales. The combination of almond flavor and candied fruit echoes European holiday baking traditions that celebrate preserved fruit during winter months.
For a spring or Easter version, swap candied cherries for chopped dried apricots and use pastel-colored sanding sugar instead of coconut. At Halloween, dye the coconut orange with a touch of powdered food coloring and add chopped dried cranberries. For a winter citrus twist, fold in 1 tablespoon finely grated orange zest and replace half the cherries with chopped crystallized ginger for warmth.
Make dough logs up to 3 days ahead and refrigerate until ready to slice. For larger batches, freeze twice as many logs as you think you'll need; wrap each log individually and label with the date. When you're ready to bake from frozen, thaw logs in the refrigerator overnight for clean slices. Use a sharp, non-serrated knife dipped in hot water and wiped dry between cuts for neat rounds.
These cookies are a simple, nostalgic canvas for holiday creativity — I hope they earn a regular spot on your cookie table and create as many sweet memories for your family as they have for mine. Happy baking and may your kitchen be full of warmth and laughter this season.
Chill the dough until firm before slicing to ensure tidy rounds and minimal spread in the oven.
Pat maraschino cherries very dry with paper towels if substituting for candied cherries to avoid pink streaks in the dough.
Rotate the log a quarter turn with each cut to preserve a uniform circular shape.
Use a sharp knife warmed in hot water and wiped dry between cuts for cleaner edges.
This nourishing santa's whiskers cookies recipe is sure to be a staple in your kitchen. Enjoy every moist, high protein slice — it is perfect for breakfast or as a wholesome snack any time.
Yes — unbaked logs can be frozen for up to 3 months. Wrap tightly in plastic wrap and then foil. Thaw in the refrigerator overnight before slicing and baking.
Store baked cookies in an airtight container at room temperature for up to 5 days. For longer storage, freeze baked cookies up to 3 months.
This Santa's Whiskers Cookies recipe makes perfectly juicy, tender, and flavorful steak every time! Serve with potatoes and a side salad for an unforgettable dinner in under 30 minutes.
Beat 1 cup softened unsalted butter with 3/4 cup granulated sugar and 1/4 cup packed light brown sugar for 2-3 minutes until light and fluffy, scraping bowl as needed.
Mix in 2 large eggs, 1 teaspoon vanilla extract, and 1 teaspoon almond extract until fully combined and glossy; use room-temperature eggs for best emulsion.
Whisk together 3 cups all-purpose flour, 1 1/2 teaspoons baking powder, and 1 teaspoon kosher salt; add to wet ingredients on low speed until dough forms a soft ball.
Gently fold in 1 cup chopped candied cherries, pulsing mixer briefly to avoid streaking the dough pink if using maraschino cherries.
Divide dough into two, shape each into a 2-inch diameter log on plastic wrap, roll each in 1/2 cup shredded coconut, then wrap tightly and press so coconut adheres.
Chill wrapped logs for at least 1 hour or up to 3 days to firm dough and ensure clean slicing.
Preheat oven to 375°F. Slice logs into 1/4-inch rounds, place 2 inches apart on parchment-lined baking sheets, and bake 9-11 minutes until edges are lightly browned.
Cool cookies on the sheet for 5 minutes, then transfer to a wire rack to cool completely before storing.
Last Step: Please leave a rating and comment letting us know how you liked this recipe! This helps our business to thrive and continue providing free, high-quality recipes for you.
Leave a comment & rating below or tag
@velvetyum on social media!

Tender grilled zucchini rolled with a basil-kissed ricotta filling, nestled in marinara, and baked until the mozzarella bubbles and turns golden.

Golden, garlicky rounds with a deep-fried crunch made lighter in the air fryer. A fast, vitamin-packed side everyone devours.

Tender chicken meatballs simmered in marinara, finished with melted mozzarella and basil for cozy, weeknight Italian comfort in every bite.
Leave a comment & rating below or tag @velvetyum on social media!
Enjoyed this recipe? Share it with friends and family, and don't forget to leave a review!
This recipe looks amazing! Can't wait to try it.
Comments are stored locally in your browser. Server comments are displayed alongside your local comments.

Join to receive our email series which contains a round-up of some of our quick and easy family favorite recipes.
