
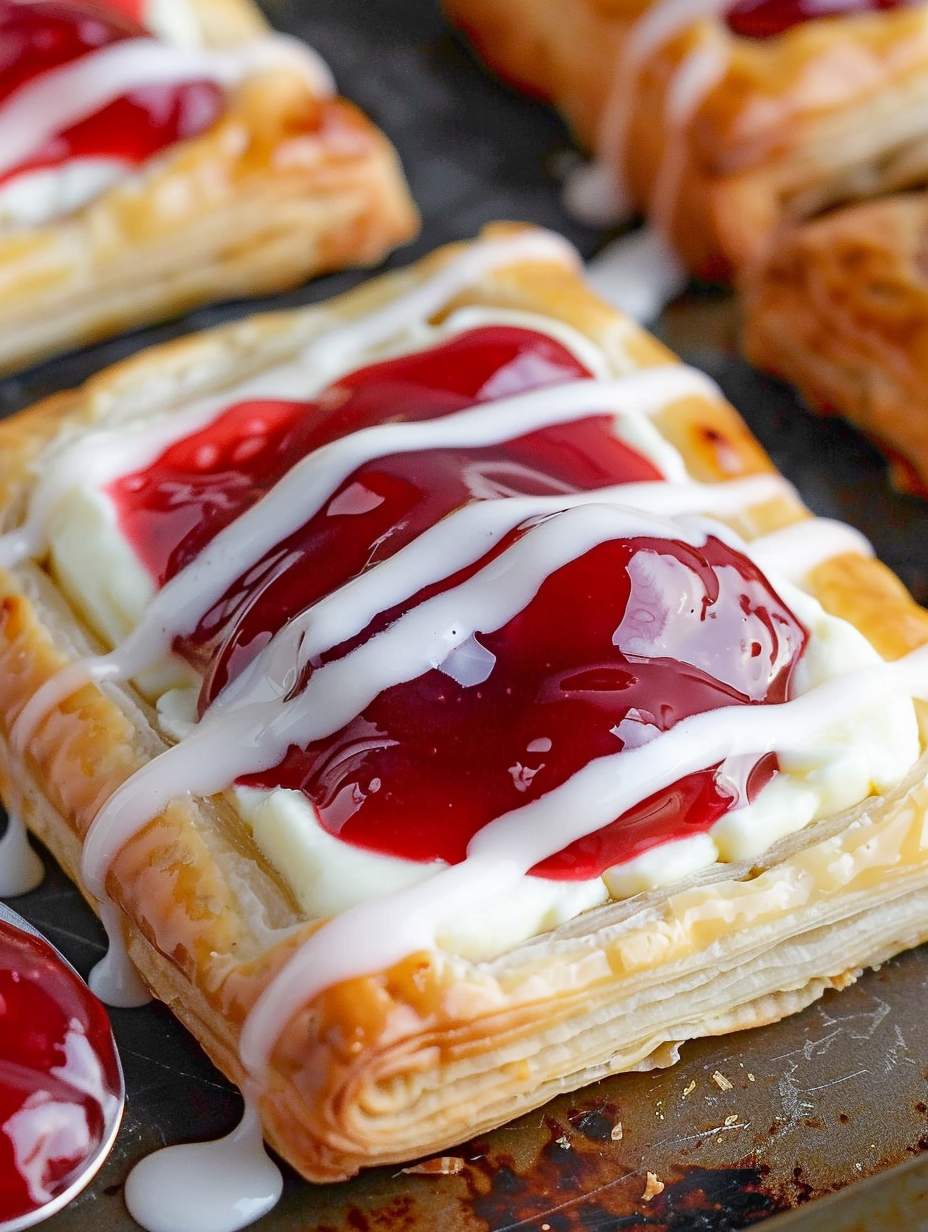
Quick Cherry Danish with Cream Cheese

Flaky puff pastry topped with a sweetened cream cheese layer and bright cherry pie filling — a quick, crowd-pleasing breakfast or brunch treat.
Why You'll Love This Recipe
- Ready in about 30 minutes from start to finish, perfect for last-minute brunch plans and busy mornings.
- Uses pantry staples: frozen puff pastry, canned cherry pie filling, and cream cheese — no complicated shopping list.
- Make-ahead friendly: assemble early, chill briefly, then bake just before serving for fresh, hot pastries.
- Crowd-pleasing balance of textures: crisp, flaky edges with a soft cream cheese center and glossy cherry topping.
- Minimal equipment required and approachable for beginners; simple scoring and an egg wash create a bakery look at home.
- Flexible for dietary swaps such as reduced-sugar filling or different fruit toppings to suit seasonal produce.
I remember taking the first tray to my sister's new apartment; the smell of warm butter and cherries filled her tiny kitchen and we ate them standing around the counter. Her children insisted I write down the steps, which is how this streamlined method was born: a few precise cuts, an easy cream cheese mix, and a quick bake. Since then these have been my go-to for hostess gifts and sleepy weekend breakfasts when I want something special with minimal effort.
Ingredients
- Puff pastry: Use a standard 17.3-ounce packaged sheet, thawed according to package directions. I prefer the name-brand sheets for consistent layering and reliable rise; keep everything cold until you are ready to cut.
- Cream cheese: 8 ounces, softened to room temperature so it blends smooth without lumps. Full-fat gives the best texture and flavor; if pressed, use reduced-fat but expect a slightly tangier finish.
- Granulated sugar: 1/4 cup to sweeten the cream cheese — adjust by a tablespoon if you like your filling sweeter or tangier.
- Vanilla extract: 1 1/2 teaspoons total, divided between the cream cheese and the glaze; pure vanilla adds depth and a bakery aroma.
- Egg: 1 large, used in an egg wash mixed with water to create a golden, glossy rim.
- Water: 2 tablespoons to thin the egg wash for easy brushing.
- Cherry pie filling: 1 (21-ounce) can of cherry pie filling — sweet and spoonable; use more or less depending on how saucy you like the center.
- Powdered sugar: 1/3 cup for a simple drizzleable glaze.
- Heavy cream: 2 teaspoons to loosen the glaze for easy drizzling; milk will work but the glaze will be less silky.
Instructions
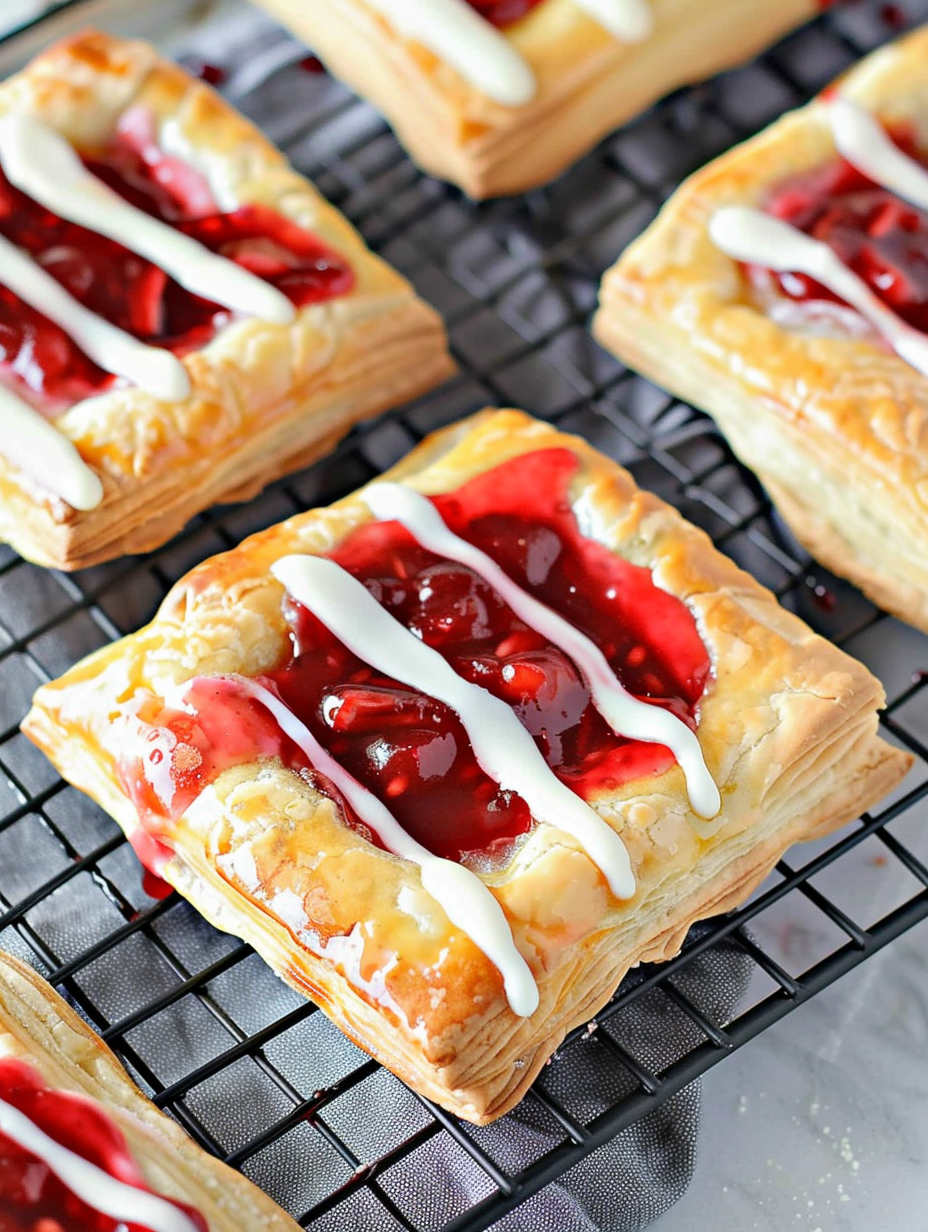
Preheat and prepare: Preheat the oven to 400 degrees F. Line one large or two medium baking sheets with parchment paper. Keep the pastry chilled until you are ready to roll and cut to preserve the layers that create flakiness. Cut and score: Unfold both thawed sheets and, using a sharp knife and ruler if desired, cut each sheet into six equal rectangles, for a total of 12 pieces. Lightly score a 1/2-inch border around each rectangle by cutting about halfway through the dough so the edges will puff separately from the center. Dock the centers: Use a fork to prick several times in the center of each rectangle; this docking keeps the inner area from over-rising and gives you a nice flat surface for the cream cheese layer. Place rectangles about 1 inch apart on the prepared parchment. Make the cream cheese mix: In a medium bowl, beat together 8 ounces softened cream cheese, 1/4 cup granulated sugar, and 1 teaspoon vanilla until smooth and slightly aerated. Taste and adjust sweetness; the mixture should be spreadable but not runny. Assemble pastries: Spoon about 1 to 1 1/2 tablespoons of the cream cheese mixture onto the center of each rectangle, spreading to cover but keeping clear of the scored border so the edges can puff freely. Egg wash: Whisk the large egg with 2 tablespoons water and brush the egg wash lightly on the 1/2-inch border of each pastry. This step creates a golden, glossy rim and seals the scored edge. Bake until golden: Bake at 400 degrees F for 18 to 20 minutes, rotating the pan halfway through for even color. Look for a deep golden brown edge and fully puffed borders; the centers should be set and not jiggly. Add cherries and glaze: Remove from the oven and let cool on a wire rack for 5 minutes. Spoon a small heap of cherry pie filling into the center of each pastry, spreading gently to cover the cream cheese layer but leaving the puffed rim visible. Whisk together 1/3 cup powdered sugar, 2 teaspoons heavy cream, and 1/2 teaspoon vanilla until smooth; drizzle over cooled pastries.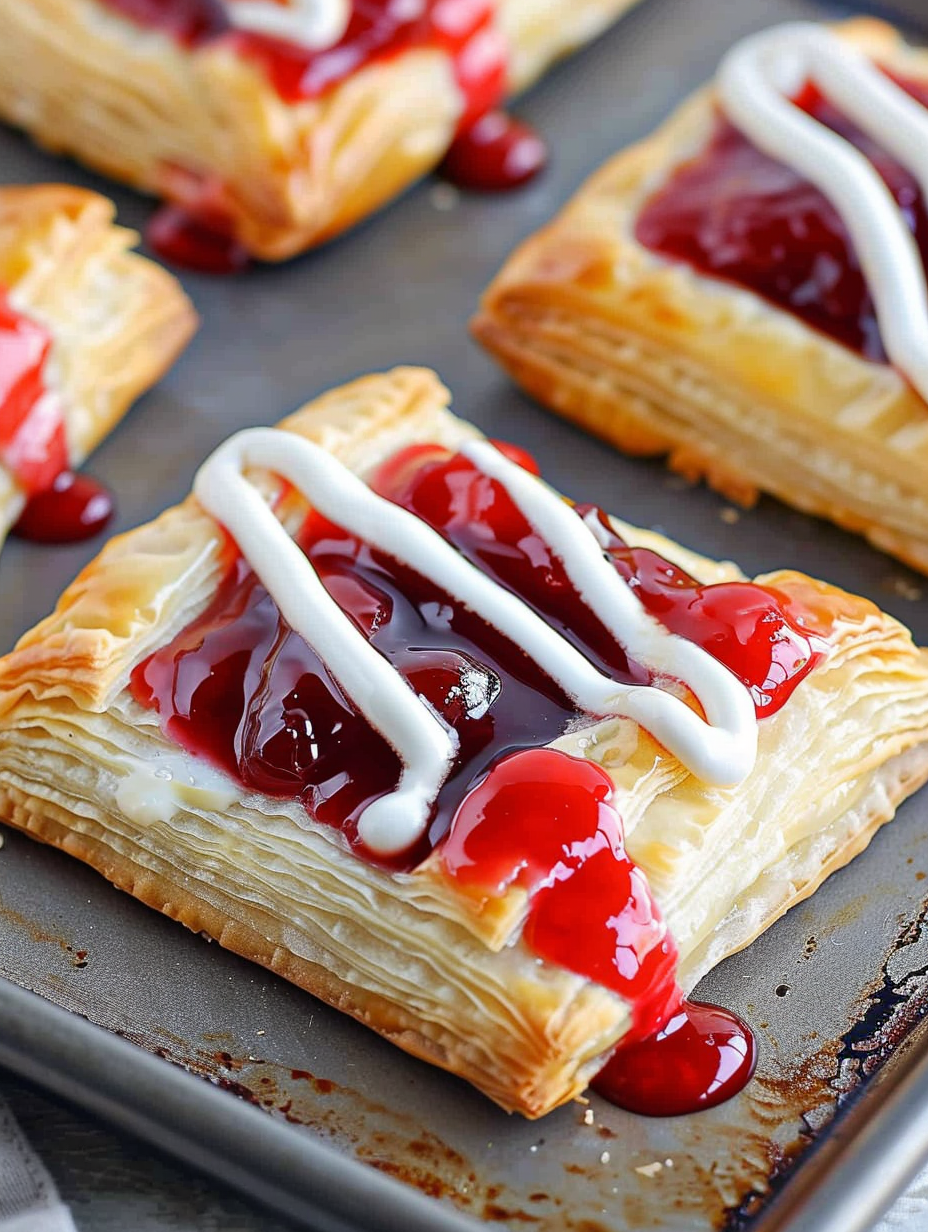
You Must Know
- These keep best in an airtight container at room temperature for up to 24 hours. For longer storage, freeze unglazed for up to 3 months and reheat directly from frozen.
- The pastries are moderately high in fat and carbs but each serving is portion-controlled at roughly 163 calories per piece as prepared here.
- Use full-fat cream cheese for the creamiest texture and best mouthfeel; lower-fat versions may be slightly tangier and less smooth.
- If the pastry seems to brown too quickly, lower the oven to 375 degrees F and extend bake time by 2 to 4 minutes, watching for puff and color.
I love the simple theatrics of this recipe: a few precise cuts and a modest egg wash transform frozen pastry sheets into something that looks homemade and refined. My favorite memory is bringing a batch to a new neighbors meeting and watching everyone reach for seconds; the kids loved the bright cherries and the adults asked for the recipe. It is small elegant bites like these that make weekday mornings feel a little more celebratory.
Storage Tips
Store cooled pastries in a single layer in an airtight container at room temperature for up to 24 hours; the crust is crispest the first day. For longer storage, remove glaze and cherry topping, freeze the plain baked pastries on a tray until firm, then transfer to a freezer-safe bag for up to 3 months. Reheat from frozen in a 350 degrees F oven for 8 to 12 minutes until warmed through and crisp. If frozen unbaked, assemble and freeze on the tray, then transfer to a bag; bake straight from frozen, adding a few extra minutes to bake time.
Ingredient Substitutions
If you do not have cherry pie filling, use fresh cherries macerated with a little sugar and cornstarch to thicken, or swap in blueberry or raspberry pie filling for a different flavor profile. For a dairy-free version, use a vegan cream cheese and dairy-free heavy cream substitute for the glaze; texture will be slightly different but still enjoyable. If you want less sugar, reduce the cream cheese sugar by 1 to 2 tablespoons and choose a reduced-sugar pie filling; expect a tangier finish.
Serving Suggestions
Serve warm or at room temperature with a dusting of additional powdered sugar and a few fresh cherries or mint leaves for color. Pair with a latte, cappuccino, or a bright black tea for a balanced morning spread. For brunch, present alongside scrambled eggs, smoked salmon toasts, and a fruit salad to create a varied buffet. These also make a lovely dessert when served with a scoop of vanilla ice cream.
Cultural Background
The danish pastry has roots in European baking traditions, borrowing laminating techniques that create layers of butter and dough. In the United States, the filled breakfast pastry evolved into many regional variations; fruit and cream cheese fillings became especially popular as a way to combine sweet and tangy flavors. This simplified version captures the spirit of traditional laminated pastries while using accessible store-bought components to recreate that bakery experience at home.
Seasonal Adaptations
Swap cherry filling for seasonal fruit toppings: peach jam in summer, spiced apple compote in fall, or a lemon curd in spring for a bright twist. Add toasted sliced almonds for texture in autumn, or a sprinkle of cinnamon on top of the cream cheese before baking for a cozy note. For holiday mornings, fold in a tablespoon of orange zest to the cream cheese for festive citrus aroma.
Meal Prep Tips
For efficient morning prep, make the cream cheese mix and keep it chilled up to 24 hours in an airtight container. Pre-cut and score the pastry, keep it covered in the refrigerator, then assemble and bake fresh. Alternatively, assemble pastries on a tray, wrap, and refrigerate for up to 4 hours; brush with egg wash right before baking. Freeze unbaked for longer prep; bake from frozen, adding a few minutes until puffy and golden.
These pastries are a small joy that are easy to personalize. Whether you make them for a crowd or a quiet morning, they are proof that a few straightforward techniques can yield bakery-quality results at home. Enjoy — and savor the moment when the first warm bite disappears.
Pro Tips
Keep puff pastry chilled until you are ready to cut to preserve the layers and maximize flake.
Score the border about halfway through the dough so the rim puffs but the center stays flat for filling.
Use room-temperature cream cheese for a lump-free filling; beat until smooth but do not over-whip.
If pastry browns too quickly, reduce oven temperature by 25 degrees F and add a few extra minutes to bake time.
Freeze plain baked pastries on a tray, then move to a bag to preserve shape and reheat in oven from frozen.
This nourishing quick cherry danish with cream cheese recipe is sure to be a staple in your kitchen. Enjoy every moist, high protein slice — it is perfect for breakfast or as a wholesome snack any time.
FAQs about Recipes
How long do these keep?
Yes. Keep cooled pastries airtight for up to 24 hours or freeze unglazed for up to 3 months.
Can I make these dairy-free?
Use vegan cream cheese and a plant-based milk or cream substitute in the glaze; texture and flavor will be slightly different.
Tags
Quick Cherry Danish with Cream Cheese
This Quick Cherry Danish with Cream Cheese recipe makes perfectly juicy, tender, and flavorful steak every time! Serve with potatoes and a side salad for an unforgettable dinner in under 30 minutes.
Ingredients
Dough
Filling
Glaze
Instructions
Preheat and line pans
Preheat oven to 400 degrees F and line baking sheets with parchment paper. Chilled, ready-to-use pastry and prepared pans give the most consistent results.
Cut and score pastry
Unfold each thawed sheet and cut into six equal rectangles. Score a 1/2-inch border about halfway through the dough so the rim puffs while the center remains flatter.
Dock the centers
Prick the center of each rectangle several times with a fork to prevent excessive rising in the middle and create a flat area to hold the filling.
Make cream cheese filling
Beat room-temperature cream cheese with granulated sugar and 1 teaspoon vanilla until smooth and spreadable. Do not overbeat into a mousse; keep a creamy texture.
Assemble pastries
Spoon the cream cheese mixture onto the center of each rectangle, keeping it inside the scored border. Brush the border with egg wash made from one egg and 2 tablespoons water.
Bake until golden
Bake at 400 degrees F for 18 to 20 minutes, rotating pans halfway through. Look for deep golden edges and fully puffed rims with set centers.
Add cherries and glaze
While still warm, spoon cherry pie filling onto each center. Whisk powdered sugar with heavy cream and remaining 1/2 teaspoon vanilla and drizzle over cooled pastries.
Last Step: Please leave a rating and comment letting us know how you liked this recipe! This helps our business to thrive and continue providing free, high-quality recipes for you.
Nutrition
Did You Make This?
Leave a comment & rating below or tag
@velvetyum on social media!
Categories:
You might also like...

Cheesy Zucchini Rollatini
Tender grilled zucchini rolled with a basil-kissed ricotta filling, nestled in marinara, and baked until the mozzarella bubbles and turns golden.

Crispy Zucchini and Squash
Golden, garlicky rounds with a deep-fried crunch made lighter in the air fryer. A fast, vitamin-packed side everyone devours.

Chicken Parmesan Meatballs
Tender chicken meatballs simmered in marinara, finished with melted mozzarella and basil for cozy, weeknight Italian comfort in every bite.
Did You Make This?
Leave a comment & rating below or tag @velvetyum on social media!
Rate This Recipe
Share This Recipe
Enjoyed this recipe? Share it with friends and family, and don't forget to leave a review!
Comments (1)
This recipe looks amazing! Can't wait to try it.
Comments are stored locally in your browser. Server comments are displayed alongside your local comments.

Hi, I'm Emma!
What's Popular

30-Minute Meals!
Join to receive our email series which contains a round-up of some of our quick and easy family favorite recipes.