
>>

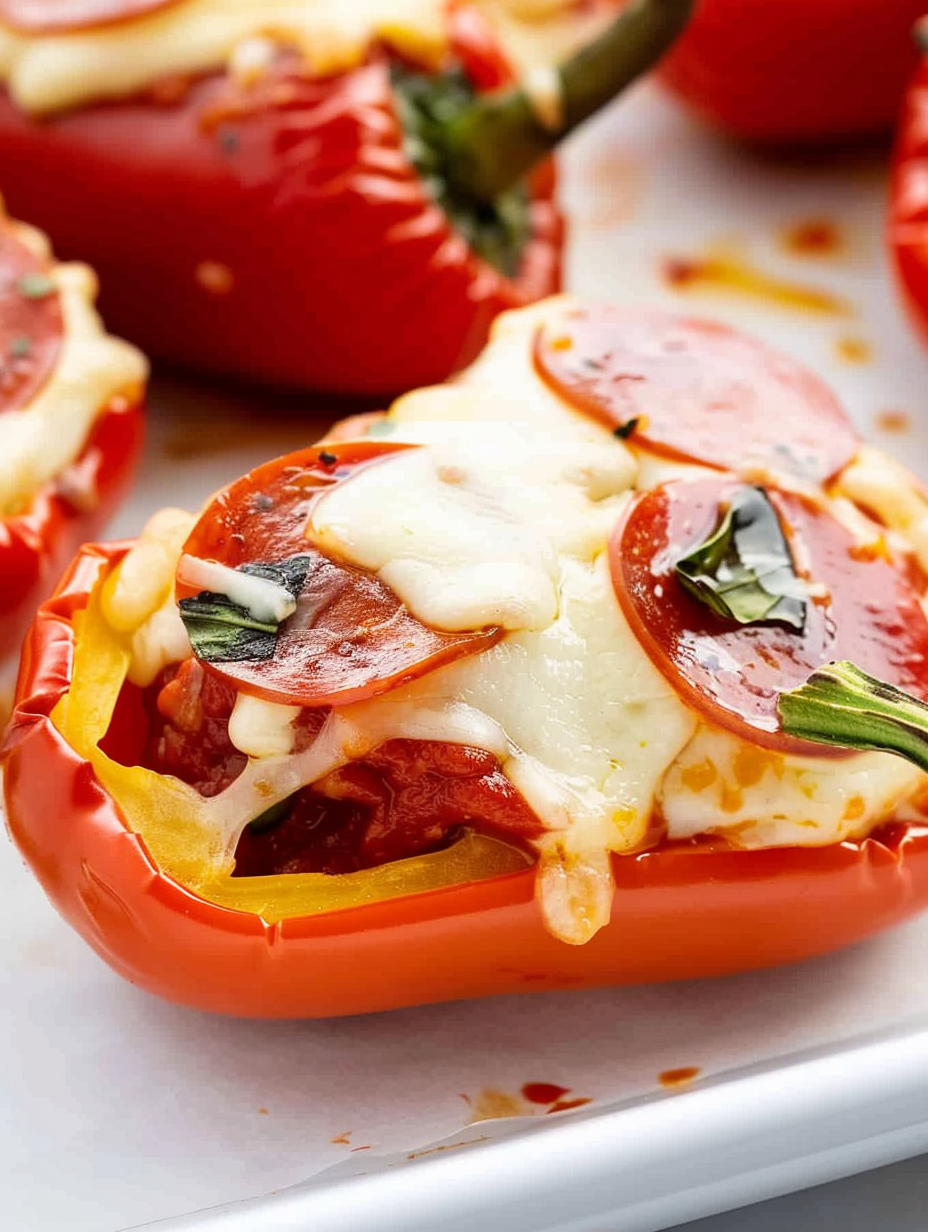
Quick, cheesy mini pepper pizzas that are perfect for parties, snacks, or an easy family meal—bright, flavorful, and ready in under 20 minutes.
This recipe for Mini Pepper Pizzas has become my go-to when I need something fast, vibrant, and wildly satisfying. I first made them on a busy weeknight when I needed a snack that felt special but required almost no fuss. The bright crunch of the sweet pepper contrasts with bubbling mozzarella and savory mini pepperoni in a way that always gets compliments. They are small enough for kids to handle and bold enough to stand in for a light dinner when paired with a salad.
I discovered this combination while rummaging through the fridge for party bites to serve with a casual backyard gathering. The idea of using halved mini sweet peppers as the crust came from wanting something gluten-free and colorful. The result was so good we ended up serving three trays in rotation. These morsels are crisp at the edges, soft where the cheese melts into the pepper, and perfectly saucy without being soggy. The stems left on make them charming to pick up and give a little rustic presentation that guests adore.
In my experience these are always the first things to disappear at gatherings. My niece insists on helping spoon sauce into the peppers and says they taste like “tiny pizza boats.” Over time I learned which peppers work best and how much sauce keeps them from becoming watery, and those tweaks make all the difference.
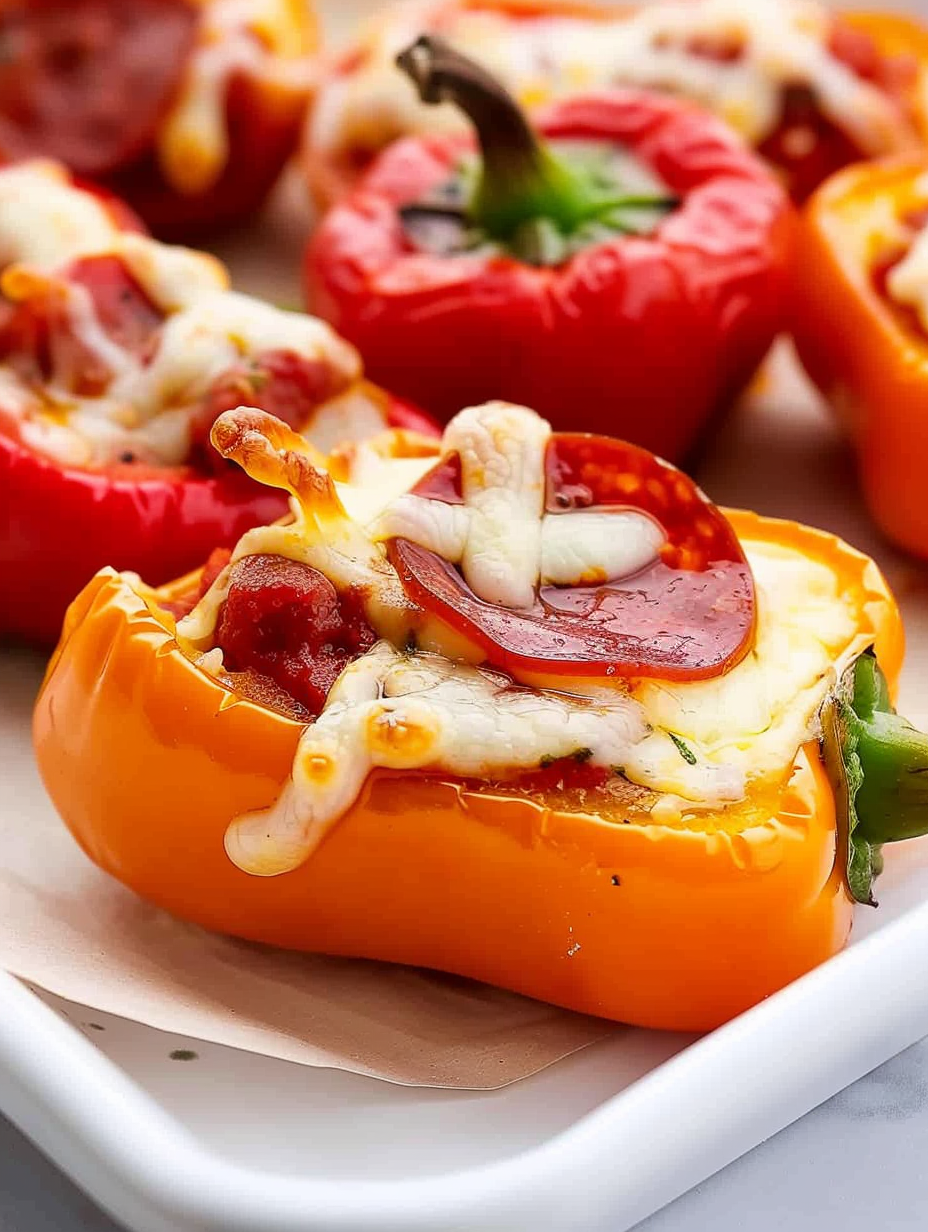
I love that these bites are adaptable—when hosting I make two trays at once and rotate flavors. Guests often ask for the leftover peppers to take home. The stems make them easy for toddlers and adults alike to hold without utensils, which is why they became a party staple in my kitchen.
Allow the pieces to cool slightly before refrigerating to avoid condensation. Store in a single layer if possible, or separate layers with parchment to protect the toppings. Refrigerate up to three days; for longer keeping, prepare unbaked halves on a sheet pan and freeze them individually before transferring to a resealable bag for up to three months. To reheat refrigerated pieces, warm in a 350°F oven for 8 to 10 minutes until the cheese becomes fluid again—microwaving will soften the pepper more and reduce surface crispness.
For a vegetarian option, omit pepperoni and add chopped roasted mushrooms or marinated artichoke hearts. Swap mozzarella with a dairy-free shredded alternative to make them lactose-free—choose a brand labeled for melting. To make them spicier, use spicy mini pepperoni or add a sprinkle of red pepper flakes before baking. For a fresher flavor, substitute pizza sauce with a spoonful of pesto for each half; the basil and oil will caramelize slightly and add complexity.
Serve these as an appetizer alongside a crisp arugula salad tossed in lemon vinaigrette, or as part of a snack board with olives and sliced cheeses. Garnish with chopped fresh basil or a dusting of dried oregano for color and aroma. For a casual meal, pair with a bowl of tomato soup or a simple grain salad to round out textures and make the snack feel like dinner.
These bites are a playful riff on classic pizza flavors adapted to modern tastes and dietary preferences. Using vegetables as a base instead of dough is a nod to vegetable-forward small plates common in American home entertaining. They combine the Italian-inspired trio of tomato, mozzarella, and cured meat, condensed into hand-held finger food that reflects the current trend of reinventing familiar tastes in miniature formats.
In summer, use freshly roasted cherry tomatoes instead of sauce for a brighter profile; in fall, swap in thin slices of roasted sweet potato and a scatter of chopped sage for warmth. During the holidays, use turkey pepperoni and add a sprinkle of Italian seasoning to complement richer mains. Seasonal herbs and toppings keep this idea fresh all year long while maintaining the quick-bake convenience.
Prep halved peppers and portion sauce and cheese into small containers the day before an event to speed assembly. Keep toppings separate until just before baking to preserve texture. If preparing for lunches, bake full batches and cool completely before packing single servings in meal-prep boxes with a small paper towel to absorb any moisture. Reheat in a toaster oven for best texture at the office or at home.
These mini pepper pizzas are proof that simple ingredients, small hands-on time, and a few smart tips can produce a crowd-pleasing dish. They are easy to scale, bright in presentation, and endlessly adaptable—try them once and you will find dozens of reasons to make them again.
Choose larger, plump mini sweet peppers for easier stuffing and better structural integrity after baking.
Use freshly shredded whole-milk mozzarella for the best melt and texture; pre-shredded cheese can be dryer.
Spoon a thin layer of sauce—about 1 1/2 teaspoons to 1/2 tablespoon per half—to avoid soggy peppers.
Watch the peppers in the oven at the lower end of the bake time; ovens vary and cheese browns quickly.
Prepare halved peppers in advance but assemble just before baking to keep them crisp.
This nourishing mini pepper pizzas recipe is sure to be a staple in your kitchen. Enjoy every moist, high protein slice — it is perfect for breakfast or as a wholesome snack any time.
This Mini Pepper Pizzas recipe makes perfectly juicy, tender, and flavorful steak every time! Serve with potatoes and a side salad for an unforgettable dinner in under 30 minutes.
Preheat oven to 425°F and line a baking sheet with parchment paper. Wash and thoroughly dry the peppers to prevent added moisture.
Slice peppers in half lengthwise, keeping stems intact. Remove seeds and membranes carefully so the halves remain intact for filling.
Spoon 1 1/2 teaspoons up to 1/2 tablespoon of pizza sauce into each pepper half depending on size to keep the filling compact and not watery.
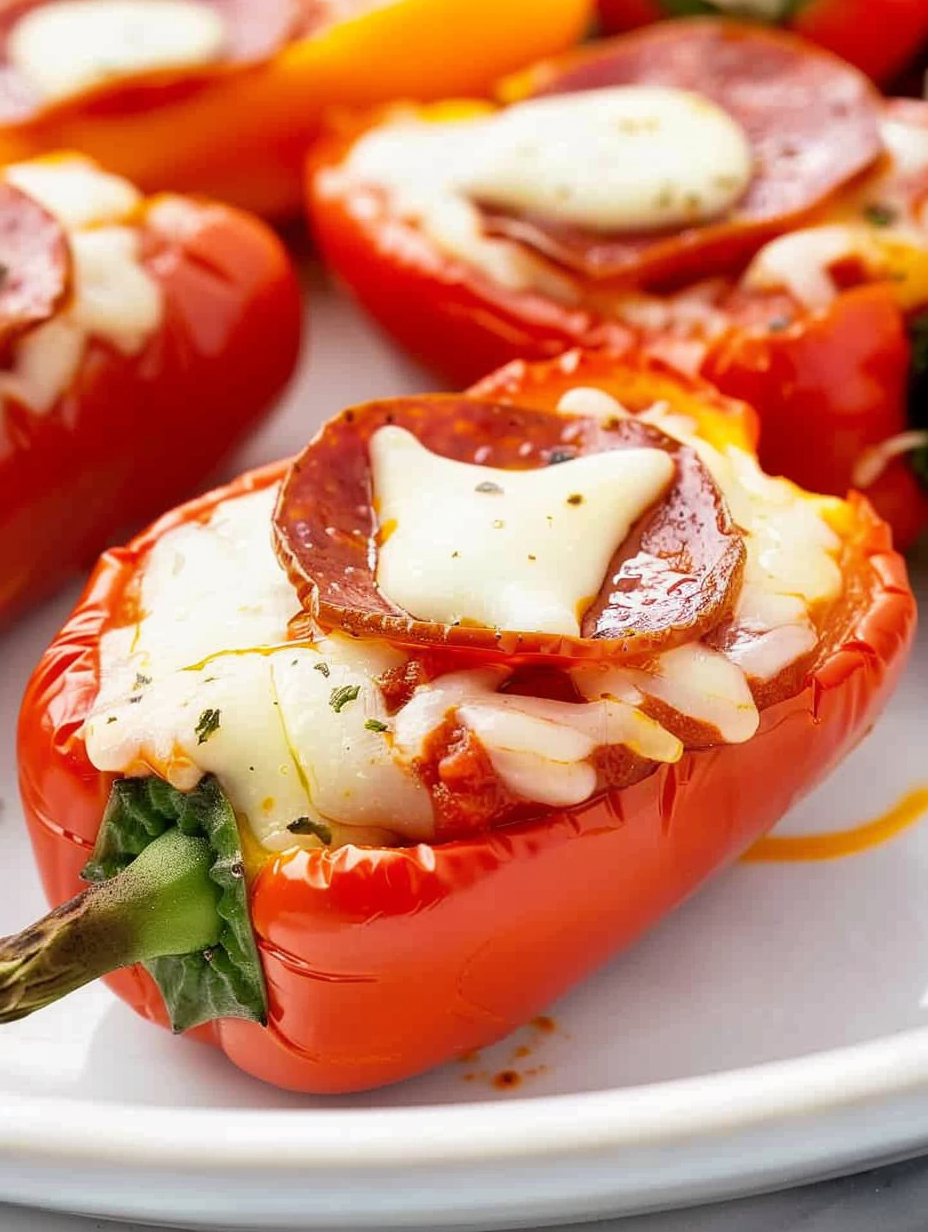
Sprinkle 1 1/2 to 2 tablespoons shredded mozzarella on each half and top with 3 to 4 mini pepperoni slices per half, adjusting for pepper size.
Bake in the preheated 425°F oven for 8 to 10 minutes until cheese is bubbly and edges of the pepper show slight browning. Remove and serve warm.
Last Step: Please leave a rating and comment letting us know how you liked this recipe! This helps our business to thrive and continue providing free, high-quality recipes for you.
Leave a comment & rating below or tag
@velvetyum on social media!

Tender grilled zucchini rolled with a basil-kissed ricotta filling, nestled in marinara, and baked until the mozzarella bubbles and turns golden.

Golden, garlicky rounds with a deep-fried crunch made lighter in the air fryer. A fast, vitamin-packed side everyone devours.

Tender chicken meatballs simmered in marinara, finished with melted mozzarella and basil for cozy, weeknight Italian comfort in every bite.
Leave a comment & rating below or tag @velvetyum on social media!
Enjoyed this recipe? Share it with friends and family, and don't forget to leave a review!
This recipe looks amazing! Can't wait to try it.
Comments are stored locally in your browser. Server comments are displayed alongside your local comments.

Join to receive our email series which contains a round-up of some of our quick and easy family favorite recipes.
