
>>

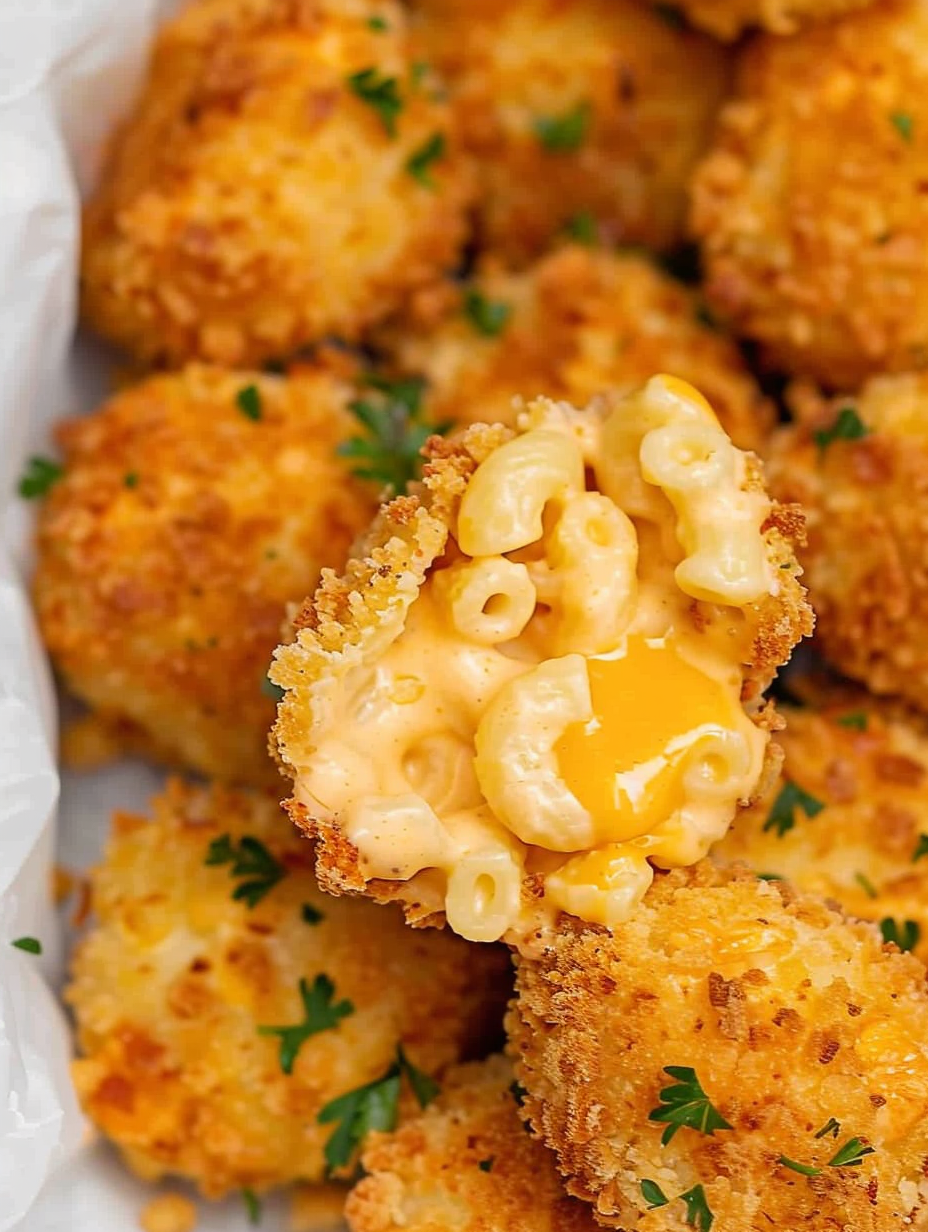
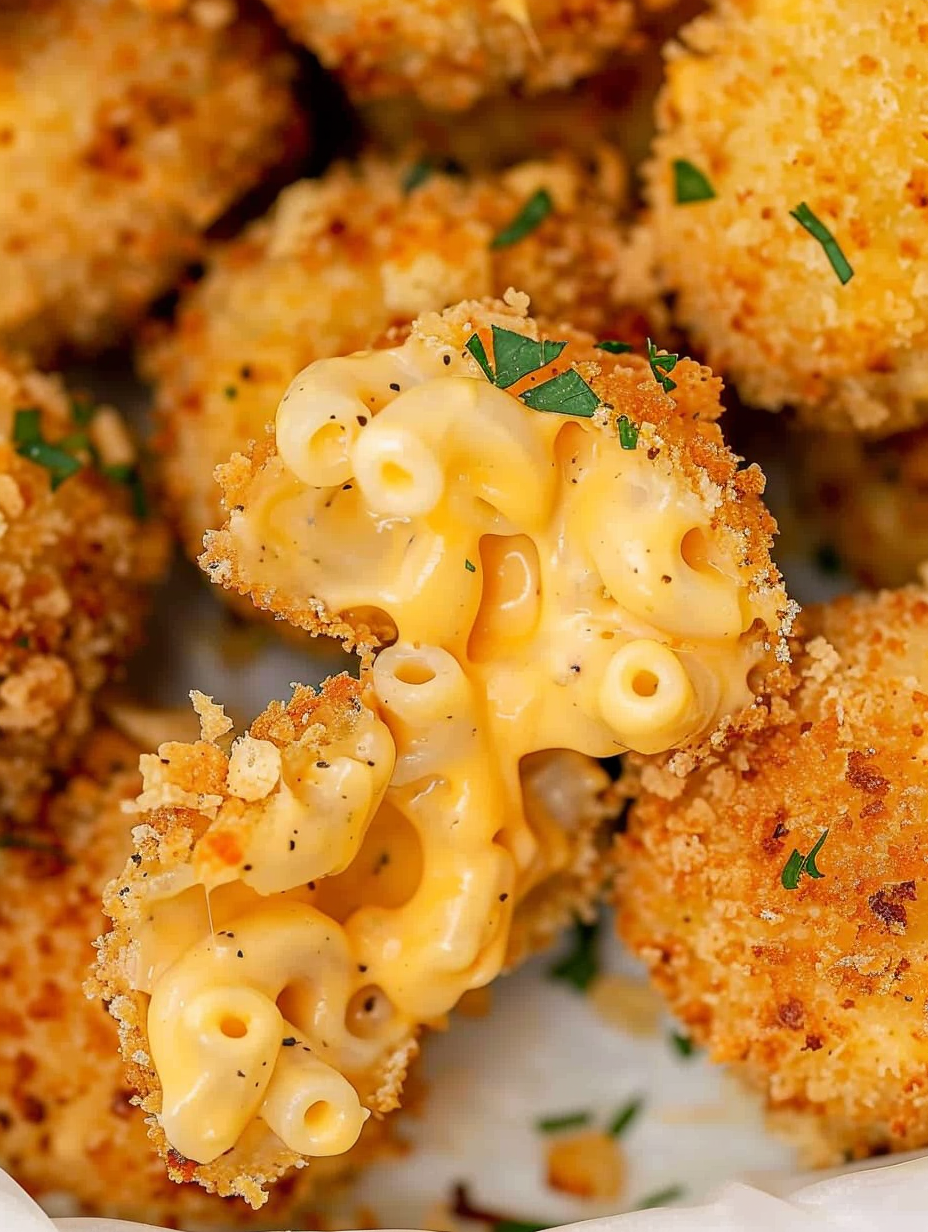
Crispy on the outside and gooey on the inside — these fried mac and cheese balls are the ultimate comfort appetizer. Perfect for parties, snackboards, or hearty side dishes.

This is my go-to party treat and a nostalgic comfort-food twist that always gets asked for by name. I discovered this method during a busy game-day weekend when I had leftover boxed macaroni and cheese and a freezer full of party expectations. Turning that familiar, velvety macaroni into perfectly crisp, golden spheres changed everything: each bite delivers that first satisfying crunch followed by a ribbon of molten cheese and tender pasta inside. The contrast between the crunchy exterior and the gooey center is what makes these so irresistible — they’re the kind of snack you can’t stop reaching for.
These fried bites are more than just indulgence; they’re adaptable and forgiving. I started with a store-bought 28-ounce container of Bob Evans macaroni and cheese because its texture firms up nicely after chilling, but you can use sturdy homemade leftovers too. I love serving them as an appetizer at gatherings or as a decadent side alongside barbecue or a simple salad. Every time I plate a tray, friends and family hover close, passing around a ramekin of honey mustard or spicy ketchup. It’s fast, crowd-pleasing, and oddly elegant for something so simple.
I remember the first time I brought a pan of these to a neighborhood potluck: they vanished within ten minutes and everyone asked for the recipe. My kids beg for them as an after-school snack, and they’re always the first thing I test when trying a new dipping sauce or cracker crumb. Once you make these, you’ll find excuses to serve them.
My favorite thing about making these is how adaptable they are. I’ve swapped cheeses in the mac, added bacon bits, or folded in chopped jalapeños for heat. Guests always comment on the contrast of textures — that first crack of the crust followed by molten cheese is unbeatable. They’ve become a staple for celebrations, and I now keep a bag of pre-formed balls in the freezer for impromptu entertaining.
To store cooked bites, let them cool completely, then place in an airtight container with parchment between layers and refrigerate for up to 3 days. For longer storage, freeze the breaded (but unfried) balls on a baking sheet until solid, then transfer to freezer bags for up to 3 months. Reheat fried leftovers in a 350°F oven or 375°F air fryer for 6–8 minutes to restore crispness. If reheating from frozen, add a couple of minutes to the bake/air-fry time and check that the center is hot.
If you don’t have Cheez-Its, pulse panko or plain breadcrumbs and add ¼ cup grated Parmesan for extra umami. Swap honey mustard in the egg wash for Dijon or sriracha mayo for a spicier glaze. Use leftover homemade macaroni and cheese — preferably one made with a firmer béchamel and cheddar blend — and reduce any extra sauce or cream so the filling sets when chilled. For a gluten-free version, use GF flour and GF cracker crumbs or crushed cornflakes.
Serve hot from the fryer with dipping sauces like honey mustard, spicy ketchup, ranch, or a smoked paprika aioli. They pair beautifully with crisp greens or coleslaw to cut richness, or alongside barbecue pulled pork for a decadent plate. For party platters, arrange with toothpicks and small bowls of assorted dips and sprinkle with chopped chives or parsley for color. A squeeze of lemon on the side brightens the flavors.
Turning macaroni and cheese into fried bites pulls from two beloved comfort traditions: creamy pasta casseroles and deep-fried finger foods common in American party culture. Though not a historical classic, these bites are a modern riff that blends Midwestern love of cheesy casseroles with Southern frying techniques. Regional variations often incorporate local cheeses, spices, or coatings such as crushed potato chips in the Midwest or cornmeal crusts in the South.
In cooler months, fold roasted butternut squash or caramelized onions into the mac for autumnal depth. For summer gatherings, add fresh jalapeños, charred corn kernels, or use a tangy pepper jack cheese for a lighter, brighter profile. During holidays, mix in sage or swap Cheez-Its for herb-seasoned breadcrumbs and serve with cranberry-spiked mustard to complement festive mains.
Make a double batch and freeze the breaded balls in single layers on a sheet tray. Once solid, transfer to labeled freezer bags so you can fry straight from frozen — no thawing needed. For quick weeknight service, bake or air-fry from frozen at 360–375°F. Pack into lunch boxes with a small container of dip and crisp greens for a fun, indulgent midday meal.
These bites are a joyful reminder that simple pantry staples can be elevated with one clever technique. Share them with friends, serve them at parties, and don’t be surprised if they become your crowd’s favorite indulgence.
Chill scooped mac and cheese before breading to help them keep their shape while coating and frying.
Maintain oil temperature at 350°F and fry in small batches to avoid soggy or overcooked crusts.
Use a food processor to pulse crackers to a consistent crumb size for even coating and frying.
This nourishing fried mac and cheese balls recipe is sure to be a staple in your kitchen. Enjoy every moist, high protein slice — it is perfect for breakfast or as a wholesome snack any time.
Yes. Assemble and freeze the breaded balls on a tray, then transfer to a freezer bag for up to 3 months. Fry from frozen — no thawing required.
Yes. Place on a parchment-lined sheet, spritz with cooking spray, and bake at 375°F for 12–15 minutes until golden, or air-fry at 360°F for 8–10 minutes.
This Fried Mac and Cheese Balls recipe makes perfectly juicy, tender, and flavorful steak every time! Serve with potatoes and a side salad for an unforgettable dinner in under 30 minutes.
Use a medium cookie scoop to portion chilled mac and cheese into rounded balls (about 1.5–2 tablespoons each). Place on a parchment-lined rimmed baking sheet.
Freeze the scooped balls for 15–20 minutes to firm them so they hold their shape during breading and frying.
Combine flour with garlic powder, salt, and pepper in one shallow dish. Whisk eggs and honey mustard in another. Pulse Cheez-Its to fine crumbs and place in a third dish.
Roll each frozen ball in seasoned flour, dip in the egg mixture, then coat thoroughly in crushed crackers. Return to the baking sheet and keep chilled until frying.
Heat oil in a Dutch oven or fryer to 350°F. Fry balls in small batches for 4–6 minutes until golden brown, turning if necessary. Drain on paper towels and garnish.
Last Step: Please leave a rating and comment letting us know how you liked this recipe! This helps our business to thrive and continue providing free, high-quality recipes for you.
Leave a comment & rating below or tag
@velvetyum on social media!

Tender grilled zucchini rolled with a basil-kissed ricotta filling, nestled in marinara, and baked until the mozzarella bubbles and turns golden.

Golden, garlicky rounds with a deep-fried crunch made lighter in the air fryer. A fast, vitamin-packed side everyone devours.

Tender chicken meatballs simmered in marinara, finished with melted mozzarella and basil for cozy, weeknight Italian comfort in every bite.
Leave a comment & rating below or tag @velvetyum on social media!
Enjoyed this recipe? Share it with friends and family, and don't forget to leave a review!
This recipe looks amazing! Can't wait to try it.
Comments are stored locally in your browser. Server comments are displayed alongside your local comments.

Join to receive our email series which contains a round-up of some of our quick and easy family favorite recipes.
