
Crispy Chicken Ranch Wraps

Crispy chicken strips, fresh vegetables, and creamy ranch wrapped in a warm tortilla for an easy, crowd-pleasing dinner.
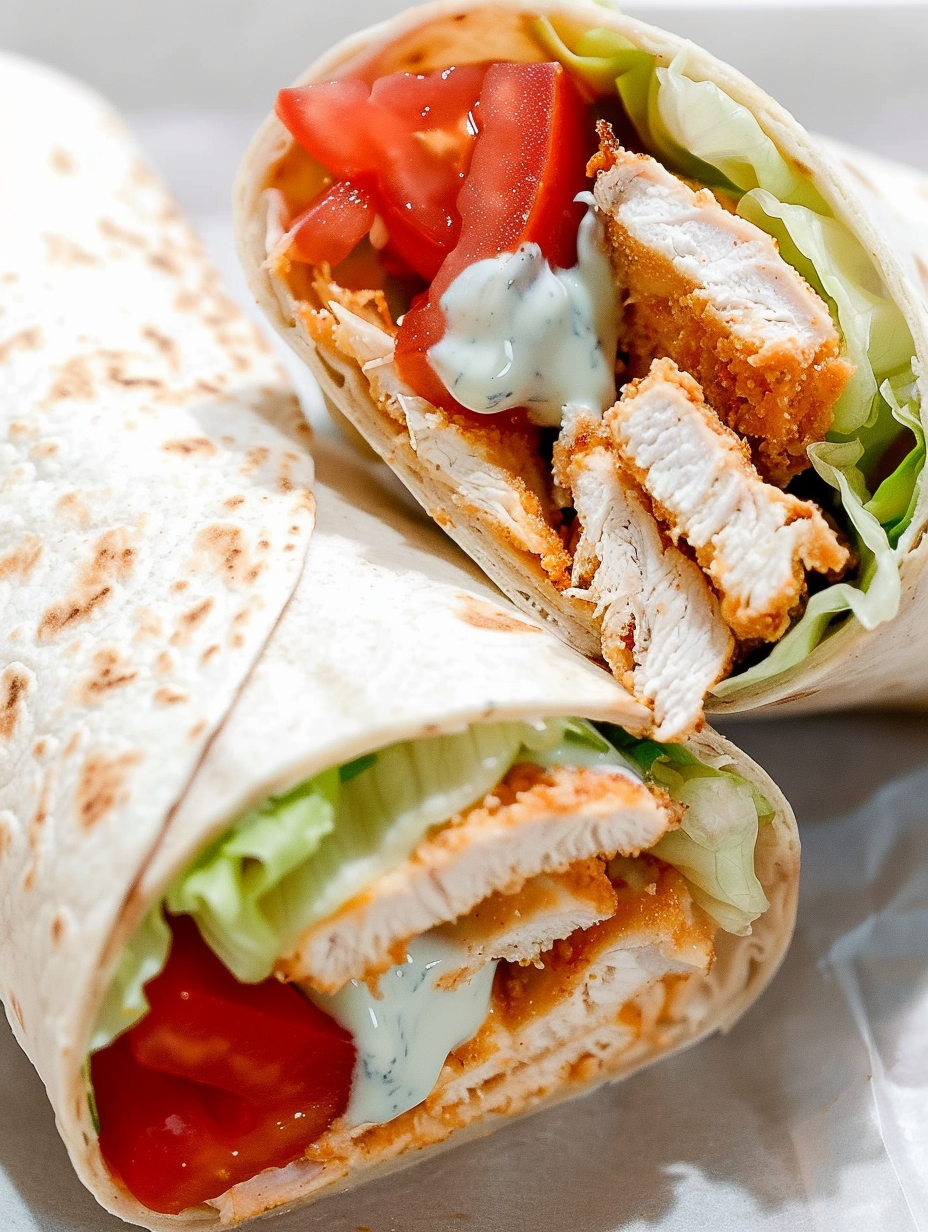
This is a straightforward, wildly satisfying dinner that grew out of a weeknight scramble and became an instant family favorite. Crispy chicken strips tucked into soft tortillas with crisp lettuce, juicy Roma tomatoes, and a drizzle of cool ranch make for a combination of textures and temperatures that always hits the spot. I first developed this version on a busy evening when I wanted something comforting but quick; the flavors were so good my kids asked for them every week after.
What makes this approach special is the contrast: crunchy, golden chicken against fresh cold vegetables and the silky tang of ranch. The method is forgiving, so you can scale it up for a group or simplify for a solo meal. The chicken cooks quickly and keeps its crunch when wrapped, and the components are pantry-friendly which makes these ideal whenever you need a satisfying plate fast.
Why You'll Love This Recipe
- Fast weeknight option that comes together in about 40 minutes from start to finish, perfect for busy households.
- Uses simple pantry staples like all-purpose flour and eggs plus versatile tortillas that you can buy in any grocery store.
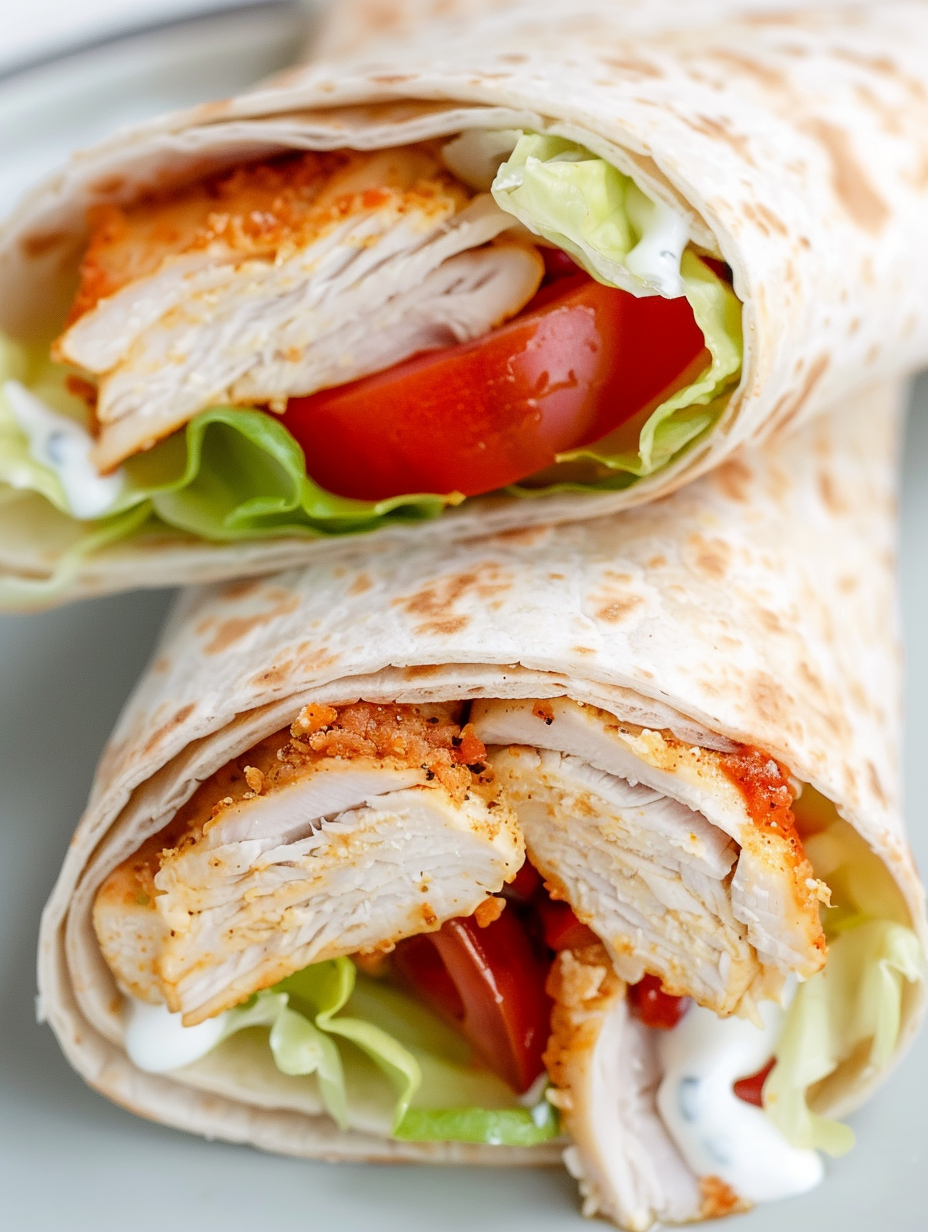
- Crowd-pleasing texture contrast: crisp fried chicken and cool crunchy vegetables in every bite.
- Make-ahead potential: fry the chicken earlier and reheat briefly to keep the coating crisp; assemble just before serving.
- Customizable: use wheat, spinach, or flour tortillas and swap ranch for a lighter yogurt-based sauce for a fresher profile.
- Great for picky eaters and easy to serve at casual gatherings or packed lunches for work and school.
In my kitchen these wraps became a regular request after a weekend barbecue when I had leftover chicken. Reheating the strips quickly in a hot skillet revived the crispness and made the sandwiches feel freshly made. The family always notices the difference when I use Roma tomatoes because they add just the right acidity without excess juiciness.
Ingredients
- Chicken breasts (about 1 pound): Choose two evenly sized boneless, skinless breasts so strips cook evenly; I prefer fresh chicken from a trusted grocer or thaw fully if frozen.
- All-purpose flour (1 cup): Ordinary white flour creates a light, crispy crust; for extra crunch try a cup blended with 1 tablespoon corn starch.
- Seasoning salt (1 1/4 teaspoons): Lawry's works well for a balanced savory note; divide the salt between flour and egg wash to build flavor.
- Black pepper (1/2 teaspoon) and garlic powder (1/2 teaspoon): Simple aromatics that brighten the coating; measure precisely for consistent seasoning.
- Eggs (2 large, beaten): Act as the binding step between flour coats so the crust adheres and browns evenly.
- Oil for frying: Use a neutral oil with a high smoke point like vegetable or peanut oil to maintain a steady 350 to 375°F while frying.
- Tortillas (6 medium): Wheat, spinach, or flour tortillas all work; warm them briefly before assembling so they roll without cracking.
- Roma tomatoes (2 medium): Slice thin for even distribution and less moisture leakage in the wrap.
- Lettuce (4 large leaves): Romaine or iceberg provide crunch; wash and pat dry completely to avoid sogginess.
- Ranch dressing (1/4 cup): Use your favorite brand or a homemade version; store-bought buttermilk ranch is convenient and creamy.
Instructions
Heat the oil:Pour oil into a deep skillet until roughly halfway full and heat to 350 to 375°F. Use a thermometer to keep temperature stable; too cool and the coating soaks up oil, too hot and the exterior burns before the interior cooks.Prepare the dredging station:Set up two shallow dishes. In the first mix 1 cup all-purpose flour, 1 teaspoon seasoning salt, 1/2 teaspoon black pepper, and 1/2 teaspoon garlic powder. In the second place the two beaten eggs with the remaining 1/4 teaspoon seasoning salt.Slice and coat the chicken:Slice breasts into thin strips roughly 1/2 to 3/4 inch wide. Dredge each strip in the flour mixture, shake off excess, dip into egg, then return to flour for a second coat. Shake gently to remove loose flour so the crust fries evenly.Fry the chicken:Place strips into the hot oil without overcrowding; you may need to work in batches. Fry 3 to 4 minutes per side until golden brown and an instant-read thermometer reads 165°F at the thickest part. Adjust heat to maintain 350 to 375°F.Drain and season:Transfer cooked strips to paper towels to drain and immediately sprinkle lightly with salt. Let rest for 2 minutes so the coating sets, which helps preserve crispness when wrapped.Assemble the wraps:Lay a warmed tortilla flat. Place chicken pieces across the center, top with a lettuce leaf or two, sliced Roma tomato, and a drizzle of ranch—about 1 tablespoon per wrap for balance. Avoid over-saucing to keep the tortilla from softening.Roll and slice:Fold in the sides and roll tightly from the bottom up like a burrito. Slice on a slight diagonal with a sharp knife and serve warm, room temperature, or chilled depending on preference.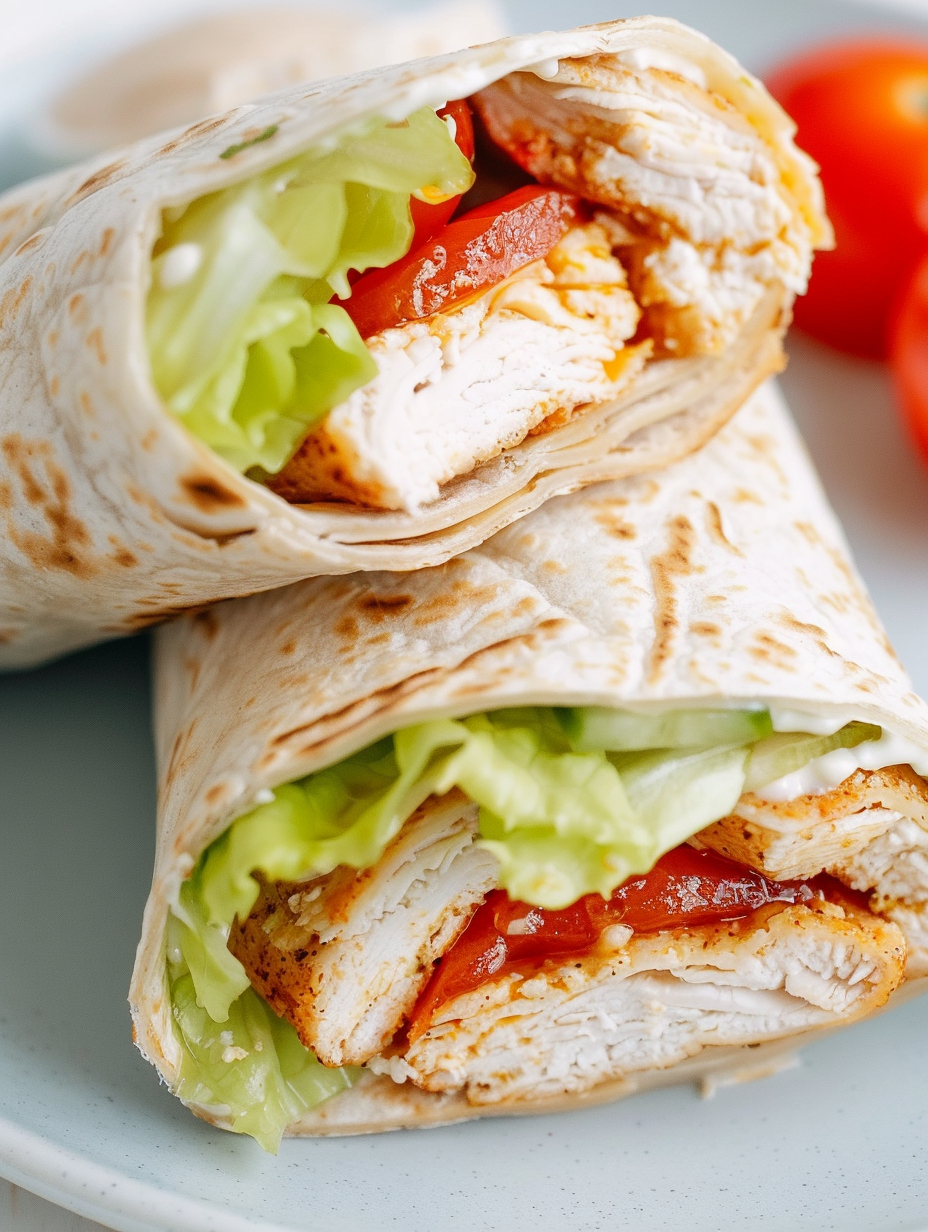
You Must Know
- These wraps freeze well if the chicken is frozen separately for up to three months; reheat the strips in a hot skillet for 2 to 3 minutes to refresh the crust.
- Nutrition figures exclude oil used for frying; if you bake the strips instead the calorie count will drop considerably.
- Allowing the chicken to rest briefly after frying keeps juices locked in and prevents the tortilla from becoming soggy.
- Use paper towels and a cooling rack in tandem when draining to maintain maximum crispness.
- Adjust the ranch quantity based on preference; a light touch maintains crisp texture and balance of flavors.
I love how reliably these wraps come together and how well they travel. For a neighborhood potluck I fried the chicken at home and packed vegetables separately; when I arrived I rolled the wraps in minutes and served them immediately. The crunch held well and the ranch tied everything together without overwhelming the other elements—my friends kept asking for the recipe.
Storage Tips
Store leftover components separately for the best texture: keep cooked chicken in an airtight container in the refrigerator for up to three days; place lettuce and tomato in a separate container or produce bag. If you have assembled wraps, wrap them tightly in plastic wrap and refrigerate for up to 24 hours; beyond that the tortilla tends to soften. To reheat, unwrap and warm the chicken separately in a skillet for 2 to 3 minutes, then reassemble to preserve the contrast between warm crisp meat and cool vegetables. Freezing is best for cooked chicken only; freeze strips on a tray first, then transfer to a freezer bag to avoid clumping.
Ingredient Substitutions
If you want a lighter option, swap the ranch for a yogurt-based dressing made with plain Greek yogurt, lemon juice, and herbs at a one-to-one ratio. For a gluten-free version use certified gluten-free flour for dredging and corn or gluten-free tortillas. If you prefer baking, brush the coated strips lightly with oil and bake at 425°F for 12 to 15 minutes, flipping once; the crust won’t be quite the same but will still be satisfying. For dairy-free needs choose a vegan ranch or a tangy vinaigrette instead of ranch.
Serving Suggestions
Serve these wraps with crisp potato wedges, a simple coleslaw, or a fresh corn salad for a summer meal. Garnish with extra chopped herbs like parsley or chives and a wedge of lemon for guests who enjoy a bright finish. For a picnic, pack wraps cut-side down in parchment and a small container of extra ranch on the side. They also pair well with a chilled glass of iced tea or a light lager.
Cultural Background
The combination of fried chicken and ranch is a modern American comfort-food mash-up rooted in Southern fried techniques and Midwestern love of creamy dressings. Tortilla wraps introduce a portable element popularized by Tex-Mex influence across the United States. This dish is a contemporary hybrid that borrows the best from regional traditions: the Southern crisp, the ranch dressing from Midwestern pantry staples, and the portability and convenience inspired by wrap culture.
Seasonal Adaptations
In spring swap Roma tomatoes for thinly sliced cucumbers and add fresh herbs like dill or basil. For summer, include grilled corn kernels for a sweeter crunch. In cooler months use roasted red peppers and a heartier green like kale massaged with a touch of olive oil. On holiday weekends serve alongside roasted sweet potatoes and a bright citrus slaw to complement the fried profile.
Meal Prep Tips
For meal prep, cook and store the chicken strips in an airtight container and refrigerate for up to three days. Pack vegetables separately in meal prep containers with a small dressing cup. When ready to eat, reheat the chicken quickly in a nonstick skillet over medium-high heat for 2 to 3 minutes to restore crispness, then assemble. Use parchment or wax paper to wrap each assembled item tightly to keep everything intact for grab-and-go breakfasts, lunches, or quick dinners.
These wraps are a satisfying, adaptable go-to that invite creativity. Whether you stick to the classic combo or try seasonal variations, they are designed to be enjoyed with minimal fuss and maximum flavor. Make them your own and share with friends who appreciate a good crunch and familiar flavors.
Pro Tips
Maintain oil temperature between 350 and 375°F to ensure a crisp, golden crust without excess oil absorption.
Pat chicken completely dry before coating to help the flour adhere and create a better crust.
Warm tortillas briefly in a dry skillet or wrapped in foil to make rolling easier and prevent cracking.
Drain cooked strips on a cooling rack over paper towels to preserve crispness and avoid soggy bottoms.
Slice tomatoes thinly and pat dry to reduce moisture transfer into the wrap.
This nourishing crispy chicken ranch wraps recipe is sure to be a staple in your kitchen. Enjoy every moist, high protein slice — it is perfect for breakfast or as a wholesome snack any time.
Tags
Crispy Chicken Ranch Wraps
This Crispy Chicken Ranch Wraps recipe makes perfectly juicy, tender, and flavorful steak every time! Serve with potatoes and a side salad for an unforgettable dinner in under 30 minutes.
Ingredients
For the chicken
For the wraps
Instructions
Heat the oil
Pour oil into a deep skillet until roughly halfway full and heat to 350 to 375°F. Monitor with a thermometer to maintain steady temperature.
Prepare the dredging station
In one shallow dish combine 1 cup flour, 1 teaspoon seasoning salt, 1/2 teaspoon black pepper, and 1/2 teaspoon garlic powder. In the other dish beat 2 eggs with 1/4 teaspoon seasoning salt.
Slice and coat the chicken
Slice breasts into thin strips. Dredge in flour, shake off excess, dip in egg, then return to flour for a second coat. Remove loose flour before frying.
Fry the chicken
Fry strips in batches without overcrowding for 3 to 4 minutes per side until golden and an internal temperature of 165°F is reached.
Drain and season
Transfer to paper towels or a cooling rack to drain and immediately sprinkle lightly with salt. Let rest 2 minutes to set the crust.
Assemble the wraps
Place warm tortilla flat, add chicken, lettuce, tomato slices, and about 1 tablespoon ranch per wrap. Fold sides in and roll snugly from the bottom up.
Slice and serve
Slice the rolled wrap on a slight diagonal and serve warm, at room temperature, or chilled depending on preference.
Last Step: Please leave a rating and comment letting us know how you liked this recipe! This helps our business to thrive and continue providing free, high-quality recipes for you.
Nutrition
Did You Make This?
Leave a comment & rating below or tag
@velvetyum on social media!
Categories:
You might also like...

Cheesy Zucchini Rollatini
Tender grilled zucchini rolled with a basil-kissed ricotta filling, nestled in marinara, and baked until the mozzarella bubbles and turns golden.

Crispy Zucchini and Squash
Golden, garlicky rounds with a deep-fried crunch made lighter in the air fryer. A fast, vitamin-packed side everyone devours.

Chicken Parmesan Meatballs
Tender chicken meatballs simmered in marinara, finished with melted mozzarella and basil for cozy, weeknight Italian comfort in every bite.
Did You Make This?
Leave a comment & rating below or tag @velvetyum on social media!
Rate This Recipe
Share This Recipe
Enjoyed this recipe? Share it with friends and family, and don't forget to leave a review!
Comments (1)
This recipe looks amazing! Can't wait to try it.
Comments are stored locally in your browser. Server comments are displayed alongside your local comments.

Hi, I'm Emma!
What's Popular

30-Minute Meals!
Join to receive our email series which contains a round-up of some of our quick and easy family favorite recipes.