
>>

Crispy, golden beer-battered mushrooms seasoned with savory spices and fresh parsley. An irresistible party appetizer that stays light yet satisfying.
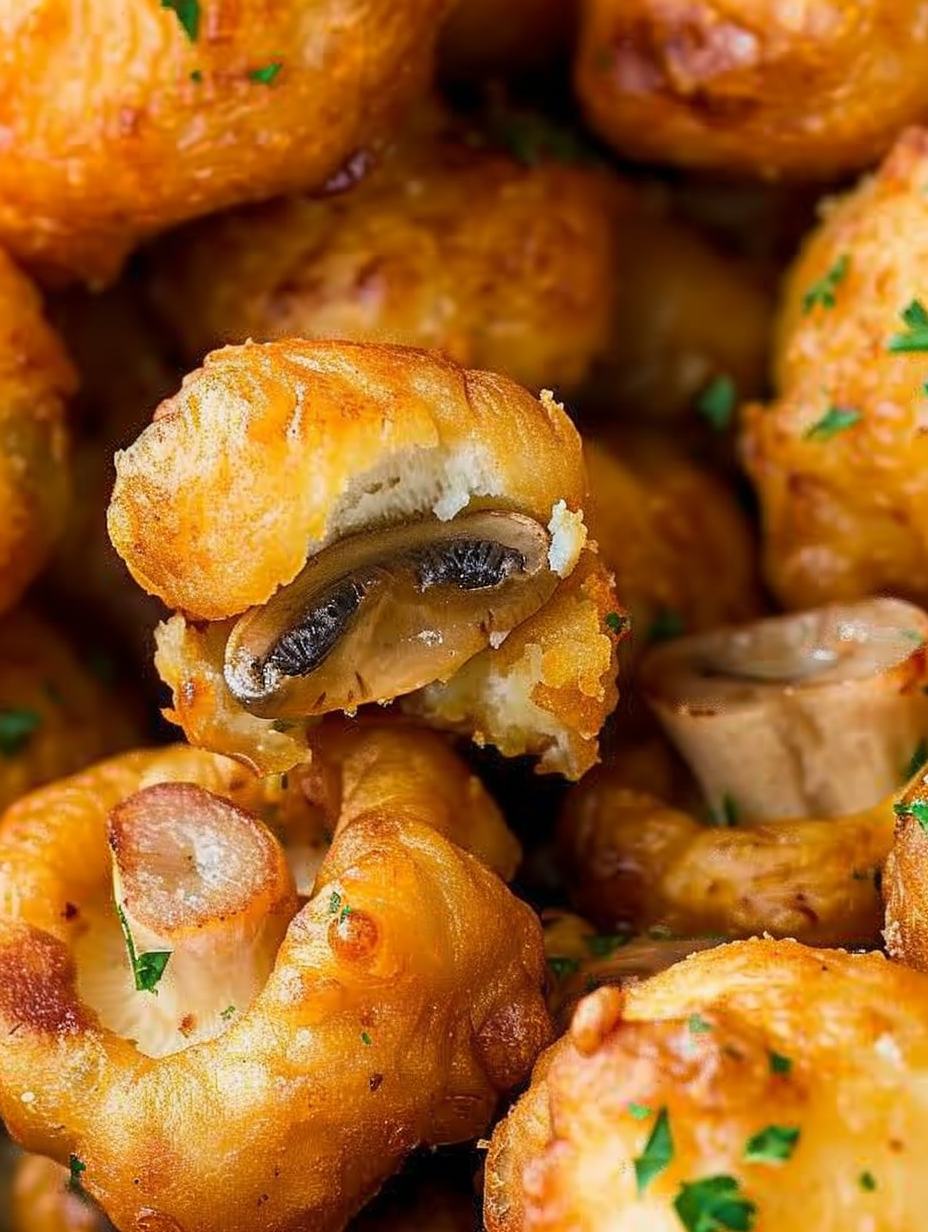
This plate of fried mushrooms has been my go-to party starter for years and it is the kind of snack that disappears before you can refill your glass. I discovered this version while testing batters one lively weekend when friends kept arriving with unexpected appetites. The combination of a light beer batter and small button mushrooms creates a delicate crunch that gives way to tender, earthy mushroom centers. It is the contrast between airy coating and moist interior that makes each bite so addictive.
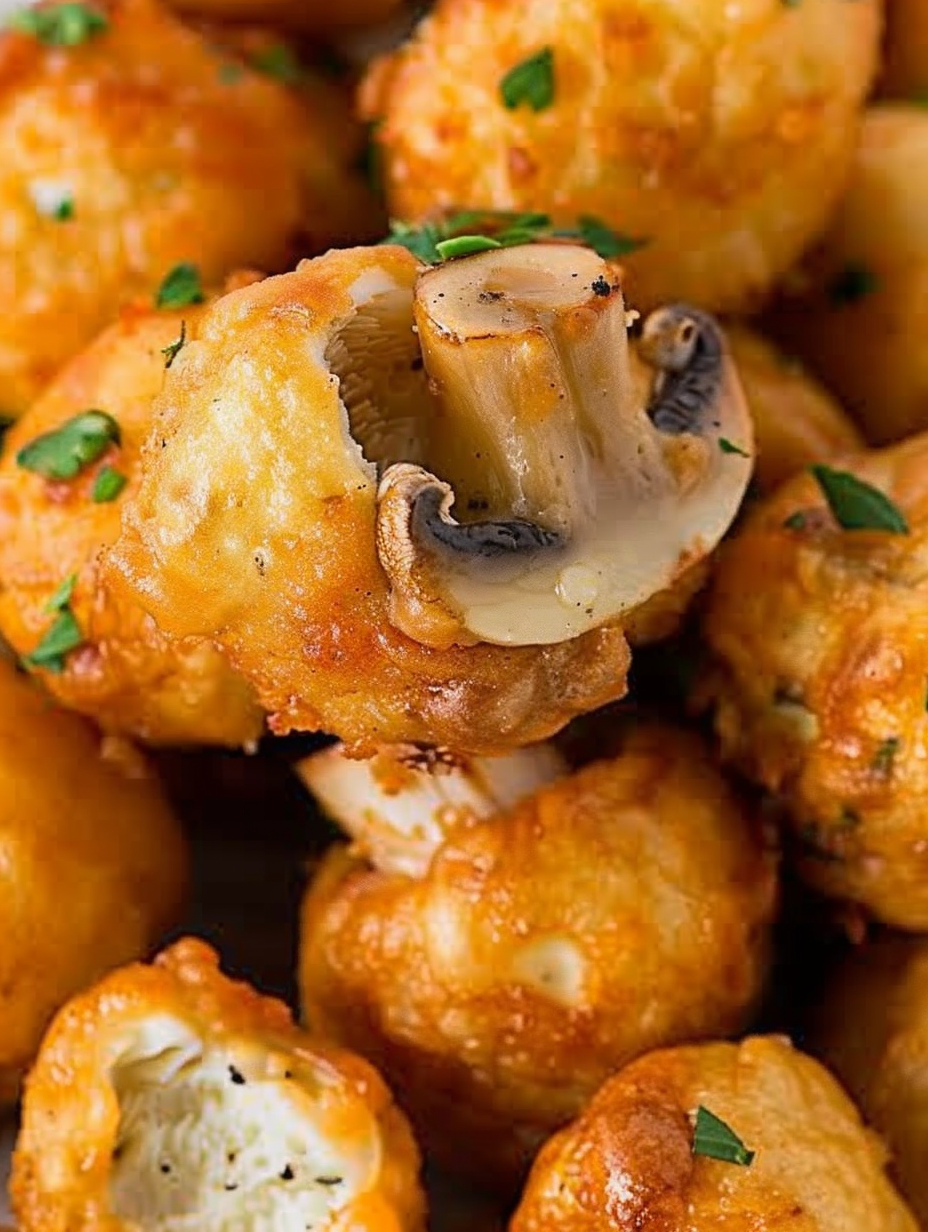
I remember serving these at a backyard gathering where a cousin admitted she does not usually like mushrooms but returned for three helpings. The seasoning is simple yet purposeful. The beer in the batter adds lift and a subtle malt sweetness while the salt, pepper and a whisper of garlic and onion powder amplify mushroom umami without overpowering it. When fried to a warm golden brown the result is snackable, shareable and reliably crowd pleasing. These are best served hot and crisp, straight from the oil to the plate.
In my experience this version consistently earns compliments for its texture and simple balance of flavors. Friends love how the coating is crisp but not heavy and how the mushrooms inside stay juicy. It taught me that frying small pieces quickly at a controlled temperature is the key to tasty finger food.
My favorite aspect of this approach is its reliability. Once you control oil temperature and batch size you can produce consistently excellent results. I have taken this dish to holiday potlucks where it proved that small, well-executed snacks can elevate the entire menu.
Store cooled leftovers in a single layer in an airtight container with a paper towel to absorb moisture for up to two days in the refrigerator. To reheat, arrange bites on a baking sheet and warm in a 375 degrees F oven for five to seven minutes to restore crispness. Avoid microwaving which makes the coating soggy. For longer storage, flash-freeze on a tray and transfer to freezer bags for up to three months. Fry from frozen for best texture or allow a short thaw while maintaining batter integrity.
For a gluten free version swap all purpose flour for a 1 to 1 gluten free baking mix and choose a gluten free beer or carbonated water for the batter. If you prefer nonalcoholic options use chilled club soda for similar lift. To add heat include 1/2 teaspoon cayenne or smoked paprika; for herbaceous notes fold in 1 tablespoon chopped thyme. If you want a lighter coating reduce the batter portion by two tablespoons and increase dusting flour slightly so the crust is thinner and crispier.
Serve with a trio of dipping sauces such as lemon garlic aioli, spicy sriracha mayo and a cool yogurt dip with dill for contrast. Plate on a warming tray with lemon wedges and microgreens for a refined look. These bites pair well with crisp lagers or citrusy white wines and make a fun companion to charcuterie boards. For a casual gathering present on skewers with alternating grilled vegetables for variety.
Battered and fried foods appear across many culinary traditions where batter provides a textural contrast to soft ingredients. Using beer in batter is a technique popularized in European and North American kitchens because the carbonation and malt improve texture and flavor. In American casual dining beer-battered vegetables and seafood became common in state fairs and pubs where quick frying delivers satisfying crispness. This version focuses on mushrooms which offer an earthy alternative to typical seafood-based batters.
In spring add finely chopped ramps or chives to the finishing parsley for bright notes. In autumn swap button mushrooms for small cremini or a mix of cultivated oyster caps, adjusting frying time slightly for denser varieties. For winter gatherings incorporate roasted garlic into the dipping sauce and add a pinch of smoked paprika to the batter for warmth. The technique adapts to seasonal produce while keeping the same reliable frying method.
Trim and dry mushrooms a day ahead and store in the refrigerator on paper towels to remove excess moisture. Combine dry seasoning and premeasure the flour portions so when guests arrive you only whisk beer and dip. If preparing for a party set a station with batter bowl, dusting flour and a slotted spoon so one cook can manage frying while another plates and warms batches in a low oven. This streamlines service and keeps bites arriving hot.
These fried mushrooms are an invitation to share small pleasures and good company. The technique is forgiving, the flavors are broadly appealing and the results reward a little attention to temperature and timing. Make them for the next gathering and notice how quickly they become the centerpiece of conversation as much as they are the first emptied plate.
Maintain steady oil temperature at 375 degrees F to prevent oil absorption and ensure a crisp coating.
Dust mushrooms in flour first so the wet batter adheres evenly and forms a uniform crust.
Keep cooked mushrooms on a wire rack rather than paper towels to preserve crispness while holding.
This nourishing crispy beer-battered fried mushrooms recipe is sure to be a staple in your kitchen. Enjoy every moist, high protein slice — it is perfect for breakfast or as a wholesome snack any time.
Yes. To keep mushrooms from becoming soggy rinse quickly and pat dry thoroughly before flouring. Excess water makes the batter slide off.
Fry at 375 degrees F in small batches and aim for 7 minutes or until golden. Use a thermometer to maintain temperature.
This Crispy Beer-Battered Fried Mushrooms recipe makes perfectly juicy, tender, and flavorful steak every time! Serve with potatoes and a side salad for an unforgettable dinner in under 30 minutes.
Pour oil into a deep pot to a depth of about three inches and heat to 375 degrees F using a thermometer for accuracy.
Trim and pat mushrooms dry. Toss in 1/2 cup of flour to lightly coat and shake off excess to help batter adhere.
Whisk remaining 1 cup flour with beer, salt, pepper, garlic powder and onion powder until smooth and the consistency of heavy cream.
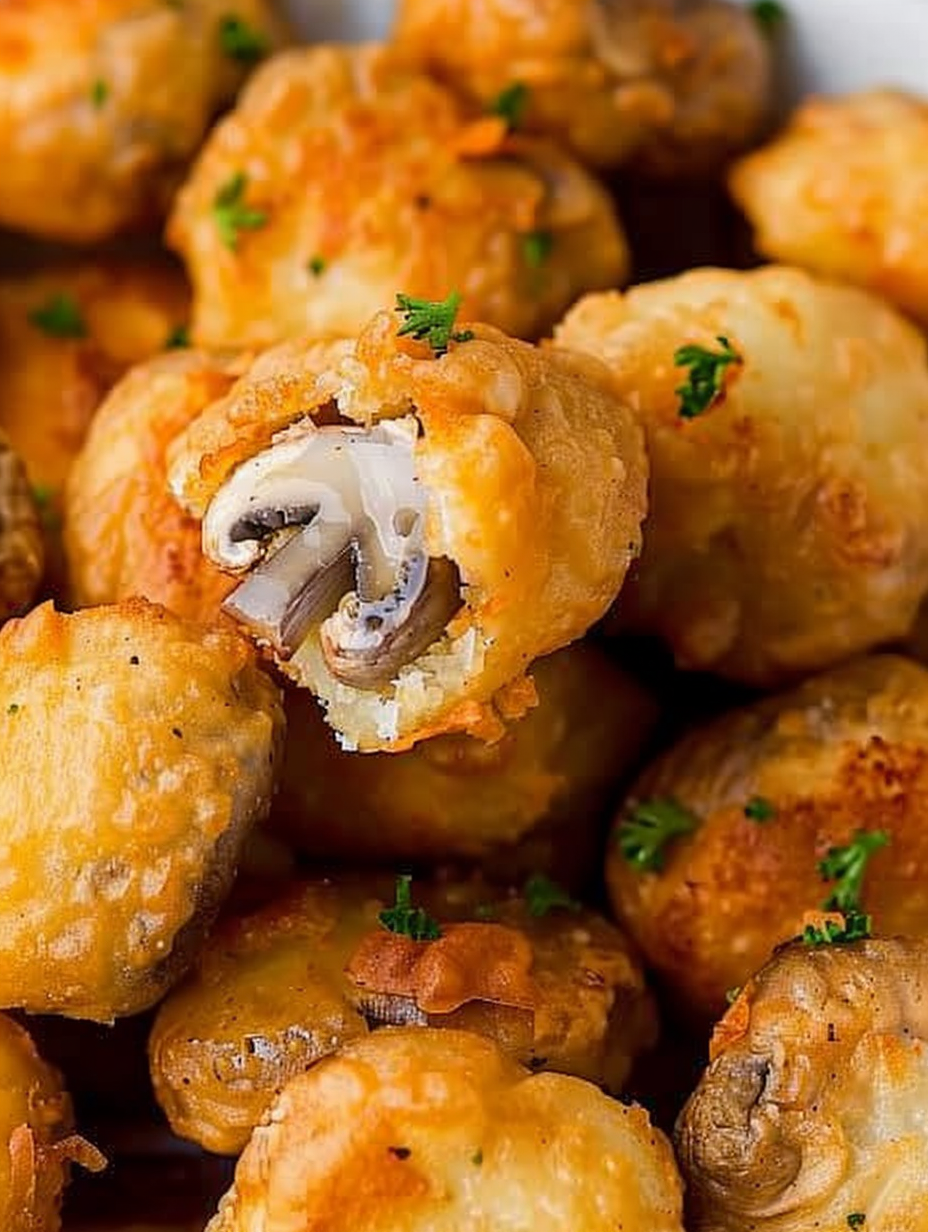
Dip floured mushrooms into the batter allowing excess to drip back into the bowl. Hold by the stem so caps are evenly coated.
Fry four to five mushrooms at a time at 375 degrees F for about seven minutes or until golden brown. Remove to a wire rack to drain.
Repeat with remaining mushrooms. Sprinkle with chopped parsley and serve immediately with dipping sauces.
Last Step: Please leave a rating and comment letting us know how you liked this recipe! This helps our business to thrive and continue providing free, high-quality recipes for you.
Leave a comment & rating below or tag
@velvetyum on social media!

Tender grilled zucchini rolled with a basil-kissed ricotta filling, nestled in marinara, and baked until the mozzarella bubbles and turns golden.

Golden, garlicky rounds with a deep-fried crunch made lighter in the air fryer. A fast, vitamin-packed side everyone devours.

Tender chicken meatballs simmered in marinara, finished with melted mozzarella and basil for cozy, weeknight Italian comfort in every bite.
Leave a comment & rating below or tag @velvetyum on social media!
Enjoyed this recipe? Share it with friends and family, and don't forget to leave a review!
This recipe looks amazing! Can't wait to try it.
Comments are stored locally in your browser. Server comments are displayed alongside your local comments.

Join to receive our email series which contains a round-up of some of our quick and easy family favorite recipes.
