
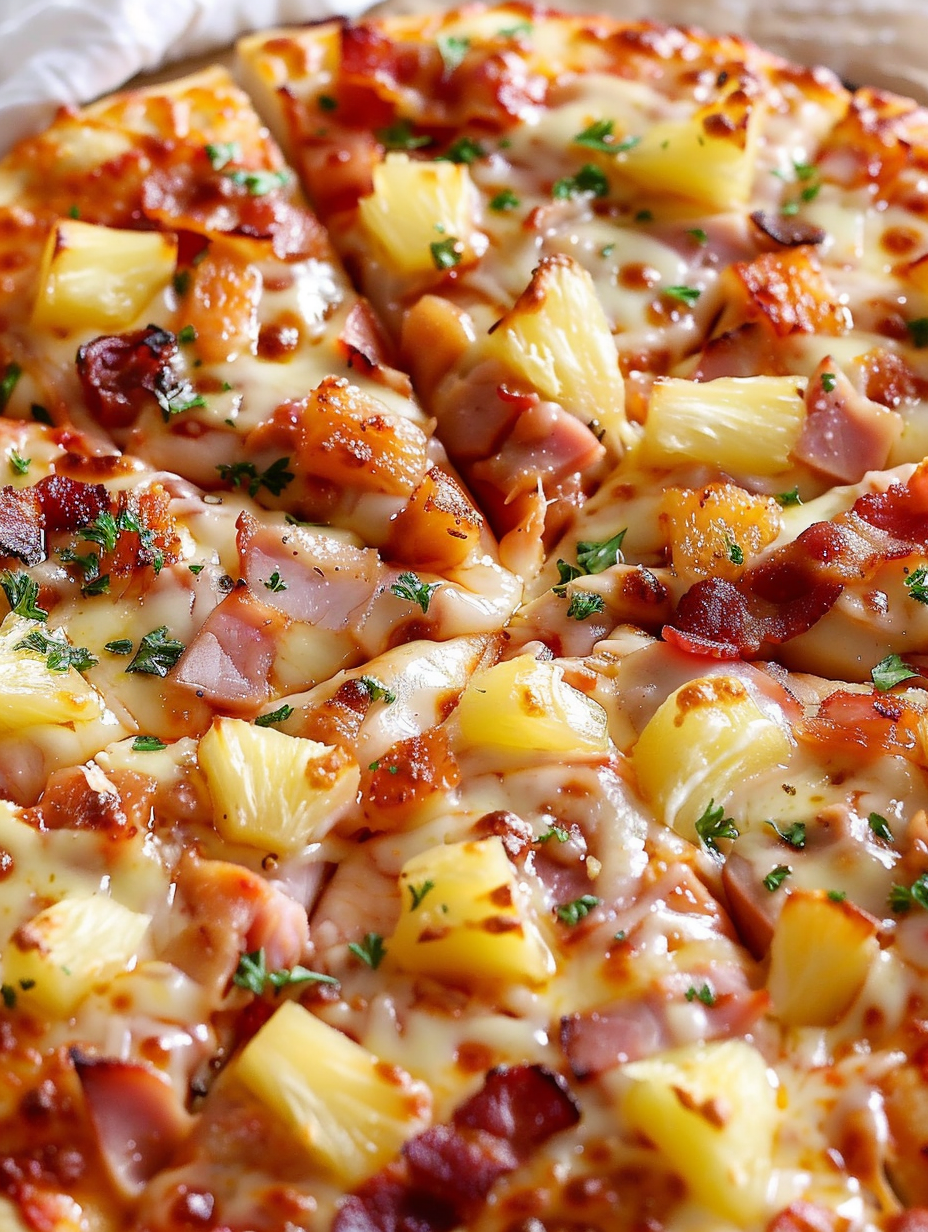
Classic Hawaiian Pizza with Garlic Butter Parmesan Crust

A simple, crowd-pleasing Hawaiian pie topped with ham, pineapple, and crispy bacon, finished with a garlic butter Parmesan crust. Easy with store-bought or homemade dough.
This Hawaiian pie has been one of my go-to weeknight indulgences for years. I first assembled this combination one summer when I had leftover ham from a family picnic and a can of pineapple that needed using. The salty ham, sweet pineapple, and smoky bacon came together in a way that made everyone at the table pause, then dig in for seconds. The contrast of textures, from the slightly chewy low-moisture mozzarella to the crisped edge of the crust brushed with garlic butter and Parmesan, makes every slice memorable.
What I love most is how forgiving this preparation is. Use a store-bought dough when time is short or roll out your favorite homemade dough when you want something more hands-on. Baking at a high oven temperature gives a blistered bottom and a quick melt without drying out the toppings. Family members always argue over who gets the center slice, and the smell of baking bacon and caramelizing pineapple is a small daily luxury I make time for.
Why You'll Love This Recipe
- Ready in about 30 minutes from start to finish, perfect for weeknight dinners when you want something special without a long prep window.
- Flexible with ingredients: use refrigerated dough or homemade, swap ham for Canadian bacon, and adjust sweetness by choosing fresh or canned pineapple.
- Balanced salty and sweet flavor profile with added smoky crunch from bacon that pleases both kids and adults.
- Uses common pantry and fridge staples, making it an excellent option when you need a quick, satisfying meal without a grocery run.
- Make-ahead friendly: assemble ahead and keep in the fridge briefly or freeze leftover slices for future quick meals.
- Finishing the crust with garlic butter and Parmesan adds an aroma and crisp finish that elevates a simple pie to a family favorite.
Personally, this pie has shown up at casual gatherings, quick dinners, and even as a celebratory late-night treat. One rainy evening I made two pies; neighbors stopped by, and the whole block ended up sharing slices. The combination always makes people smile, and the garlic butter crust feels like a small signature touch that turns a simple pizza into something you remember.
Ingredients
- Pizza dough: One pound of refrigerated or homemade dough at room temperature. Let it rest 20 to 30 minutes before stretching for an elastic, easy-to-shape crust.
- Pizza sauce: 1/2 cup of a good jarred sauce or homemade tomato sauce. Rao's or a simple basil tomato sauce works well for a clean tomato base.
- Ham: 1/2 cup sliced or diced cooked ham, about 3 to 4 ounces. Leftover holiday ham or packaged ham works; Canadian bacon is a great swap for a meatier bite.
- Pineapple: 8 ounces canned chunks, well drained and patted dry. Removing excess juice prevents a soggy center and concentrates the sweet flavor.
- Bacon: Four strips cooked until crisp and crumbled. The crisp texture contrasts the juicy pineapple and melty cheese.
- Mozzarella: Two cups low-moisture, whole milk mozzarella shredded from a block for the best melt and color. Avoid fresh mozzarella for this preparation because it releases too much moisture.
- Garlic butter Parmesan crust: One tablespoon melted butter, one teaspoon grated Parmesan, and 1/4 teaspoon garlic powder combined and brushed on the edge after the initial bake.
- Garnishes: Red pepper flakes, chopped parsley, and dried oregano to finish, adding color, a little heat, and herbal lift.
Instructions
Preheat: Heat the oven to 450 degrees Fahrenheit. If you have a pizza stone, place it on the middle rack while the oven preheats for at least 30 minutes for a crisper bottom and more even heat transfer. Prepare pineapple: Slice each pineapple chunk in half lengthwise to make thinner pieces. Layer them between paper towels and press gently to remove excess moisture. This reduces sogginess and prevents the center from getting watery during baking. Stretch dough: On a lightly floured surface, stretch or roll the dough into an even 12-inch round. Transfer to a parchment-lined peel or baking sheet if not using a stone. Use a fork to dock the crust lightly to discourage large bubbles during baking. Top the pie: Spread 1/2 cup of sauce evenly over the dough, leaving a 1-inch border. Sprinkle two cups of shredded mozzarella, then scatter ham, pineapple, and crumbled bacon evenly. Less is more with toppings to help the crust cook through. Bake initially: Slide the pizza onto the preheated stone or place the baking sheet in the oven. Bake for about 13 minutes until the cheese is melted and the crust is set but not fully browned. Finish the crust: Combine one tablespoon melted butter, one teaspoon grated Parmesan, and 1/4 teaspoon garlic powder. Brush this mixture over the exposed crust, then return the pie to the oven for 2 to 3 minutes until the edge develops a golden brown color. Garnish and serve: Remove the pizza, sprinkle with red pepper flakes, chopped parsley, and dried oregano. Let rest 3 to 4 minutes, then slice into eight pieces and serve hot.
You Must Know
- This pie stores well in the refrigerator for up to three days in an airtight container, and slices freeze for up to three months when wrapped tightly.
- Pineapple moisture is the main factor in a soggy center; always pat canned or fresh pieces dry before topping the dough.
- Low-moisture whole milk mozzarella delivers the best melt, browning, and texture for this style of pie.
- Use a pizza stone or a preheated baking sheet for a crisper bottom; otherwise baked on a sheet the crust will be softer.
- Reheat cold slices in a low oven at 275 degrees Fahrenheit for 25 to 30 minutes covered with a tented sheet of foil for restored texture.
My favorite part of this preparation is the ritual of finishing the crust. Brushing garlic butter and Parmesan post-bake creates a fragrant, crisp edge that people remember. We often pair this pie with a simple green salad and iced tea for an easy, complete meal. Over the years, small tweaks like choosing canned chunks over rings and drying them better improved the outcome dramatically.
Storage Tips
Allow the pie to cool to near room temperature before storing. For short-term storage, place slices in an airtight container or wrap tightly with plastic wrap and refrigerate up to three days. For longer storage, wrap individual slices in plastic wrap and then in foil, or place in a freezer-safe container and freeze up to three months. Reheat frozen slices in a low oven directly from frozen, covered, at 300 degrees Fahrenheit for 20 to 25 minutes, then uncover for 5 minutes to refresh the crust crispness.
Ingredient Substitutions
If you prefer a leaner profile swap the bacon for turkey bacon and use low-sodium ham. For a vegetarian version replace ham and bacon with smoked tofu or a grilled mushroom medley; increase a touch of smoked paprika in the sauce to mimic the smoky flavor. If you cannot find low-moisture mozzarella, shred and pat fresh mozzarella on paper towels to remove excess moisture, though results will be slightly wetter.
Serving Suggestions
Serve slices with a bright green salad dressed in lemon vinaigrette to cut the richness. A side of roasted vegetables works well for a heartier plate. Garnish individual slices with extra fresh parsley and a light drizzle of olive oil for an elevated presentation. For gatherings, cut into smaller squares for a party platter alongside pickled red onions and a simple herb dip.

Cultural Background
Despite the name, this combination of pineapple and ham was created in Canada in the 1960s and has since become an iconic, and sometimes polarizing, fixture on menus globally. The pairing plays on the balance of sweet and savory that appears in many tropical culinary traditions. Over time it became associated with relaxed, comfort cooking and casual pizza menus, loved for its bright pop of sweetness against cured meats and melty cheese.
Seasonal Adaptations
In summer, use fresh pineapple cut into small wedges and briefly grill them to intensify sweetness and add char. In winter, opt for canned chunks drained well and warmed in a skillet to concentrate flavor. For holiday spins, swap ham for thinly sliced leftover roast and add a small smear of smoky barbecue sauce under the tomato base for an autumnal twist.
Meal Prep Tips
Assemble the pie up to the point of baking and keep covered in the refrigerator for up to 24 hours; this allows you to bake fresh when ready. For batch cooking, bake several pies and freeze individual slices. Pack reheated slices for lunches with a cold salad and piece of fruit, or reheat slowly to maintain crust integrity for best quality.
This pie is all about approachable technique and dependable flavors. Invite friends, let people pick their favorite slices, and enjoy the little ritual of brushing garlic butter over the crust; it is a tiny flourish that makes this dish feel special every time. Make it your own, and don’t be surprised when it becomes a repeat request at your table.
Pro Tips
Pat canned or fresh pineapple dry between paper towels to remove excess moisture before topping the dough.
Use low-moisture whole milk mozzarella shredded from a block for the best melt and browning.
Preheat a pizza stone or inverted baking sheet for at least 30 minutes to achieve a crisper bottom.
Brush the crust with garlic butter and Parmesan after initial bake to avoid burning the butter during the main bake.
If reheating, cover slices with tented foil and reheat in a low oven to restore texture without drying.
This nourishing classic hawaiian pizza with garlic butter parmesan crust recipe is sure to be a staple in your kitchen. Enjoy every moist, high protein slice — it is perfect for breakfast or as a wholesome snack any time.
Tags
Classic Hawaiian Pizza with Garlic Butter Parmesan Crust
This Classic Hawaiian Pizza with Garlic Butter Parmesan Crust recipe makes perfectly juicy, tender, and flavorful steak every time! Serve with potatoes and a side salad for an unforgettable dinner in under 30 minutes.
Ingredients
Pizza
Garlic Butter Parmesan Crust
To Garnish
Instructions
Preheat
Preheat oven to 450 degrees Fahrenheit. If using a pizza stone, place it in the oven to preheat for at least 30 minutes for even baking and a crisper crust.
Prepare pineapple
Slice pineapple chunks into thinner pieces and press between paper towels to remove excess moisture. Drying the fruit prevents a soggy center and concentrates sweetness.
Stretch dough
Stretch or roll the dough into an even 12-inch circle on a lightly floured surface. Dock the crust lightly with a fork to minimize large air bubbles during baking.
Assemble
Spread 1/2 cup pizza sauce over the dough leaving a 1-inch border. Sprinkle two cups shredded mozzarella, then evenly distribute ham, pineapple, and crumbled bacon.
Initial bake
Bake for about 13 minutes until cheese is melted and crust is set but not deeply browned. This stage sets toppings without overbrowning the edge.
Finish crust and bake
Mix melted butter, Parmesan, and garlic powder. Brush over the exposed crust and bake 2 to 3 more minutes until the edge is golden brown. Remove and let rest briefly.
Garnish and serve
Sprinkle with red pepper flakes, parsley, and oregano. Allow the pie to rest 3 to 4 minutes, then slice into eight pieces and serve while hot.
Last Step: Please leave a rating and comment letting us know how you liked this recipe! This helps our business to thrive and continue providing free, high-quality recipes for you.
Nutrition
Did You Make This?
Leave a comment & rating below or tag
@velvetyum on social media!
Categories:
You might also like...

Cheesy Zucchini Rollatini
Tender grilled zucchini rolled with a basil-kissed ricotta filling, nestled in marinara, and baked until the mozzarella bubbles and turns golden.

Crispy Zucchini and Squash
Golden, garlicky rounds with a deep-fried crunch made lighter in the air fryer. A fast, vitamin-packed side everyone devours.

Chicken Parmesan Meatballs
Tender chicken meatballs simmered in marinara, finished with melted mozzarella and basil for cozy, weeknight Italian comfort in every bite.
Did You Make This?
Leave a comment & rating below or tag @velvetyum on social media!
Rate This Recipe
Share This Recipe
Enjoyed this recipe? Share it with friends and family, and don't forget to leave a review!
Comments (1)
This recipe looks amazing! Can't wait to try it.
Comments are stored locally in your browser. Server comments are displayed alongside your local comments.

Hi, I'm Emma!
What's Popular

30-Minute Meals!
Join to receive our email series which contains a round-up of some of our quick and easy family favorite recipes.