
>>

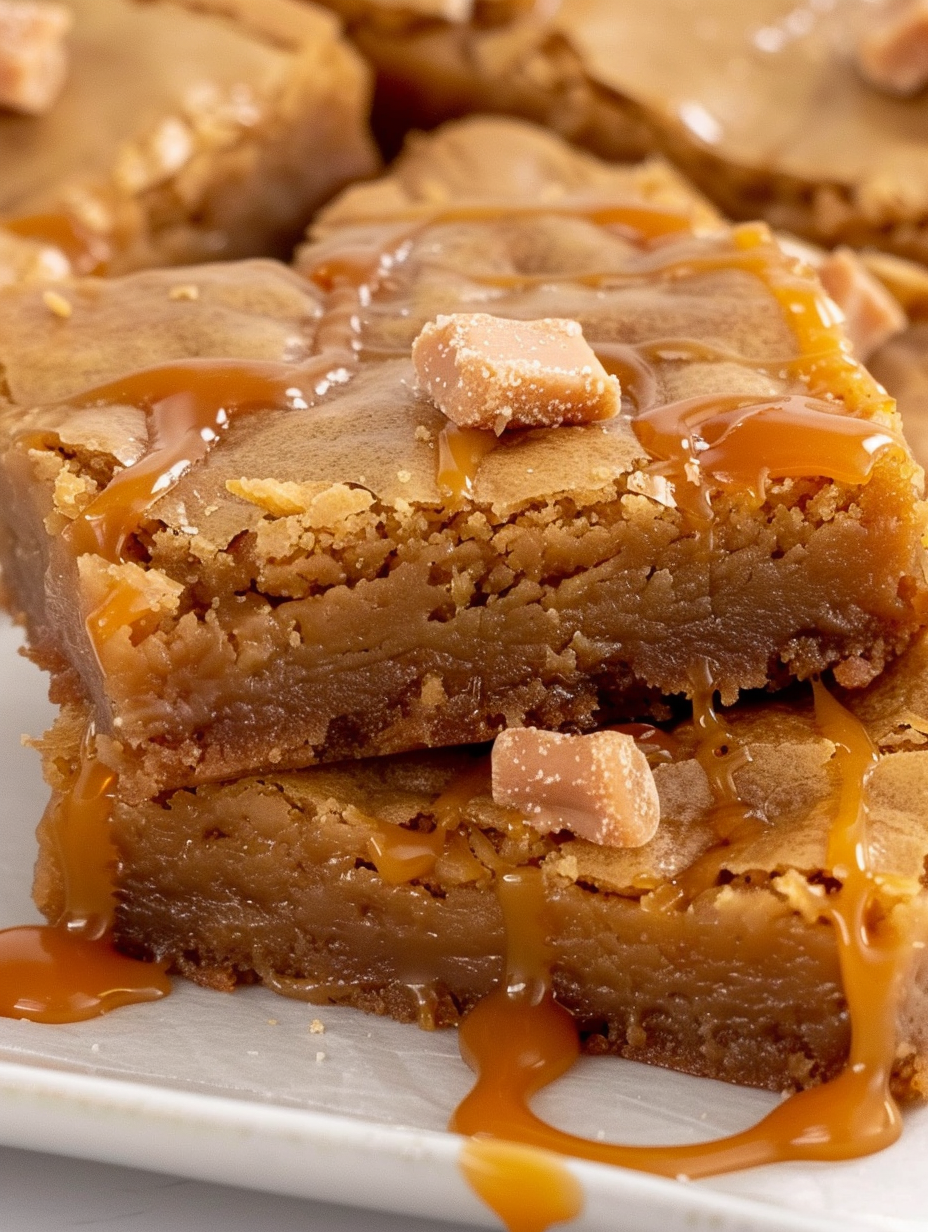
Indulge in fudgy, caramel-kissed squares studded with butterscotch chips — a simple, crowd-pleasing treat perfect for parties, school bakesales, or an everyday dessert.
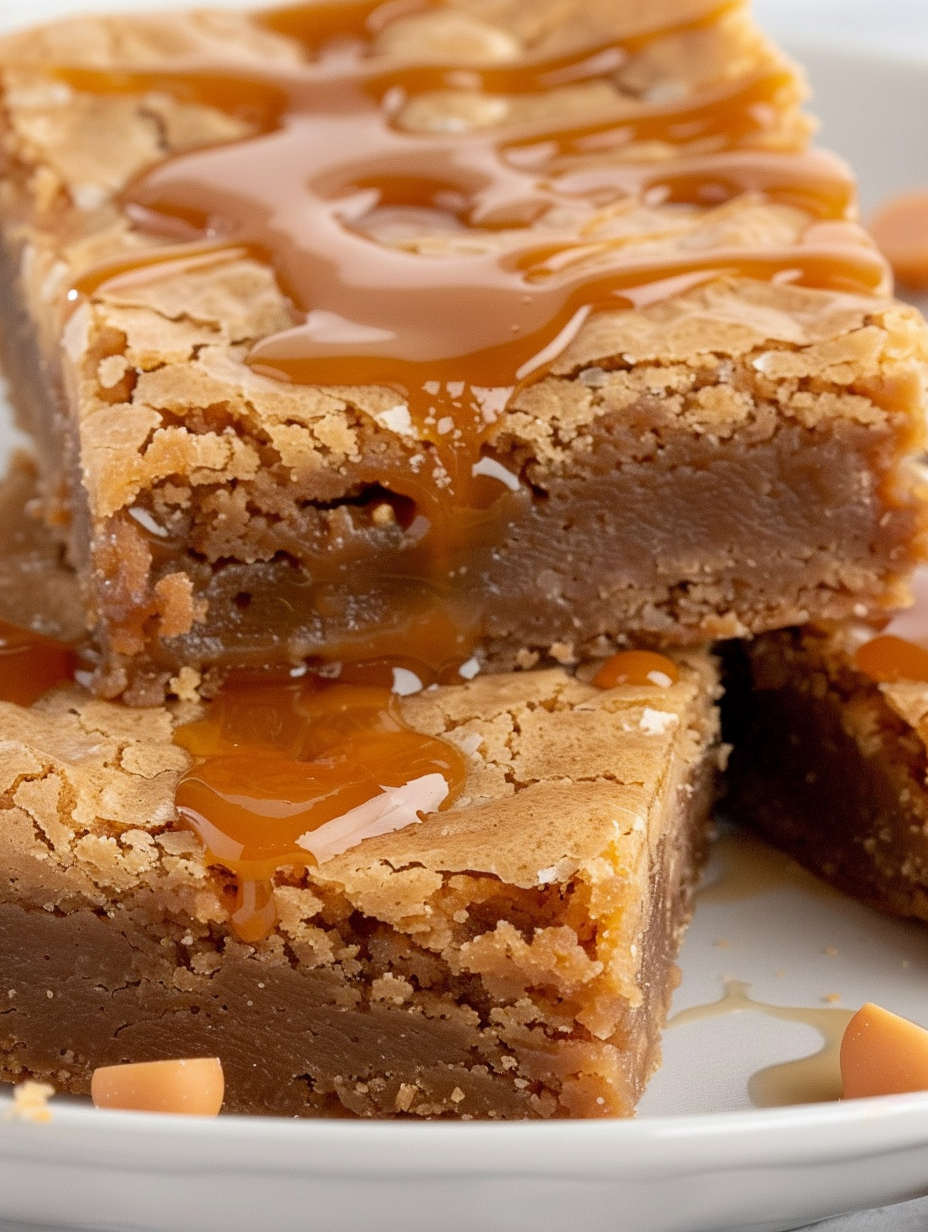
This recipe for butterscotch brownies has been a small ritual in my kitchen for years. I discovered the combination one rainy afternoon when I had more brown sugar than chocolate on hand and decided to lean into caramel notes instead of cocoa. The result was surprisingly irresistible: a dense, chewy bar with a shiny, crackled top and pockets of molten butterscotch that give a toffee-like crunch. It quickly became the dessert I bring to potlucks and the one my neighbor asks for when she brings over a container of ripe bananas.
What makes these squares so special is their simplicity. Minimal ingredients, straightforward technique, and a forgiving baking time mean they’re perfect for bakers of any skill. The texture balances fudgy interior and a slightly crisp exterior, while the light brown sugar deepens the caramel profile. I still remember the first time I plated them for a backyard dinner and watched children and adults alike reach for seconds without hesitation — that kind of universal appeal is why I keep this recipe in heavy rotation.
In my house these bars are a comfort food and a party pleaser. I once made a pan for a small book club meeting; by the end of the night the host declared them an official end-of-month tradition. The recipe’s reliability — consistent texture and predictable bake time — is why I return to it whenever I want an easy, satisfying dessert.

My favorite part of these squares is the crackled shiny top that forms when sugar is properly incorporated with the butter and eggs. Family members always comment on that glossy surface and the way the butterscotch chips create molten pockets — my father once declared them better than the local bakery’s version. The recipe’s predictability has made it the go-to gift I bring when I want to arrive with something homemade but stress-free.
Store cooled squares in an airtight container at room temperature for up to 3 days. For longer storage, refrigerate for up to 7 days; let them come to room temperature before serving to restore softness. For freezing, wrap individual bars tightly in plastic wrap and place in a freezer-safe bag; they’ll keep excellent quality for about three months. To thaw, unwrap and let sit at room temperature for 30 to 60 minutes, or gently warm in a 300°F oven for 5–8 minutes if you prefer just-baked warmth.
If you need variations, swap half the all-purpose flour for whole-wheat pastry flour for a nuttier flavor and slightly denser texture — use the same weight or a small adjustment by volume. For a richer result, replace 2 tablespoons of butter with browned butter; this intensifies toffee notes. If butterscotch chips are unavailable, use white chocolate chips plus 1 teaspoon of molasses to mimic caramelized sugar, though the final flavor will be subtly different. For a nutty addition, fold in 1/2 cup toasted pecans or walnuts.
Serve warm with a scoop of vanilla bean ice cream and a drizzle of hot caramel for an indulgent dessert, or keep them simple with a dusting of powdered sugar. For parties, cut into small two-bite squares and arrange on a platter with fresh berries to balance sweetness. A sprinkle of flaky sea salt just before serving heightens the caramel notes and adds a sophisticated contrast. These bars pair nicely with coffee, black tea, or a glass of cold milk.
Brownies are an American classic with roots in early 20th-century American cookery, often credited to home bakers adapting cake recipes for smaller pans. The butterscotch variation leans on British-influenced toffee and caramel traditions — combining brown sugar and butter creates that butterscotch character. Over time variations emerged across the U.S., incorporating different chips, nuts, or swirls; this version is a simple homage to those caramel-forward adaptations that became popular in home baking circles.
For fall and winter, fold in 1/2 teaspoon of ground cinnamon and a pinch of nutmeg to echo seasonal spices. In summer, top squares with a light lemon glaze and serve with macerated berries for a brighter contrast. For holiday gifting, press a few festive-coloured sugar sprinkles into the top before baking. When peaches are in season, serve bars alongside grilled peach slices for a pleasing sweet-salty contrast.
Make a double batch and freeze half for quick desserts throughout the month. Portion bars into single-serve packs so they’re easy to grab for lunchboxes or an afternoon treat. If prepping ahead for a party, bake the day before and store in a cool place; add fresh toppings like whipped cream or sea salt right before serving. To store for perfect slices, chill the pan for 30 minutes after cooling, then lift out with the parchment and slice using a large, hot knife for clean edges.
These squares are a reliable treat that’s easy to personalize. Whether you keep them classic or experiment with spices and mix-ins, they deliver comforting sweetness and a nostalgic caramel pull that makes sharing a joy. I hope these notes inspire you to make them your own and pass them along to friends and family.
Use room-temperature eggs to help the batter emulsify for a glossy top and even texture.
Allow the bars to cool completely before slicing to achieve clean, even squares.
If you want shinier tops, whisk the sugar and butter until slightly aerated before adding eggs.
Warm your knife under hot water and dry it between cuts for neater edges.
This nourishing butterscotch brownies recipe is sure to be a staple in your kitchen. Enjoy every moist, high protein slice — it is perfect for breakfast or as a wholesome snack any time.
This Butterscotch Brownies recipe makes perfectly juicy, tender, and flavorful steak every time! Serve with potatoes and a side salad for an unforgettable dinner in under 30 minutes.
Preheat oven to 350°F. Line a 9x13-inch baking pan with parchment paper leaving a two-side overhang for easy removal; lightly grease if needed.
Whisk melted and slightly cooled butter with the light brown sugar until smooth and slightly glossy to help form the crackled top.
Add the eggs one at a time, mixing each until fully incorporated, then stir in the vanilla until the mixture is emulsified and shiny.
Whisk together flour, baking powder, and salt in a separate bowl to ensure even distribution of leavening.
Add half the flour mixture to the wet ingredients and fold gently, then add the rest and mix until the batter is thick and smooth; avoid overmixing.
Fold in butterscotch chips, spread batter into the prepared pan, and bake 20–23 minutes until the top is golden and a toothpick yields moist crumbs.
Cool completely on a wire rack, then lift the slab using the parchment overhang and slice into 24 squares. Chill briefly if you prefer cleaner cuts.
Last Step: Please leave a rating and comment letting us know how you liked this recipe! This helps our business to thrive and continue providing free, high-quality recipes for you.
Leave a comment & rating below or tag
@velvetyum on social media!

Tender grilled zucchini rolled with a basil-kissed ricotta filling, nestled in marinara, and baked until the mozzarella bubbles and turns golden.

Golden, garlicky rounds with a deep-fried crunch made lighter in the air fryer. A fast, vitamin-packed side everyone devours.

Tender chicken meatballs simmered in marinara, finished with melted mozzarella and basil for cozy, weeknight Italian comfort in every bite.
Leave a comment & rating below or tag @velvetyum on social media!
Enjoyed this recipe? Share it with friends and family, and don't forget to leave a review!
This recipe looks amazing! Can't wait to try it.
Comments are stored locally in your browser. Server comments are displayed alongside your local comments.

Join to receive our email series which contains a round-up of some of our quick and easy family favorite recipes.
