
>>

Crispy, low carb zucchini chips coated in parmesan and spices. A keto friendly, healthier alternative to potato chips that is easy to make and perfect for snacking.
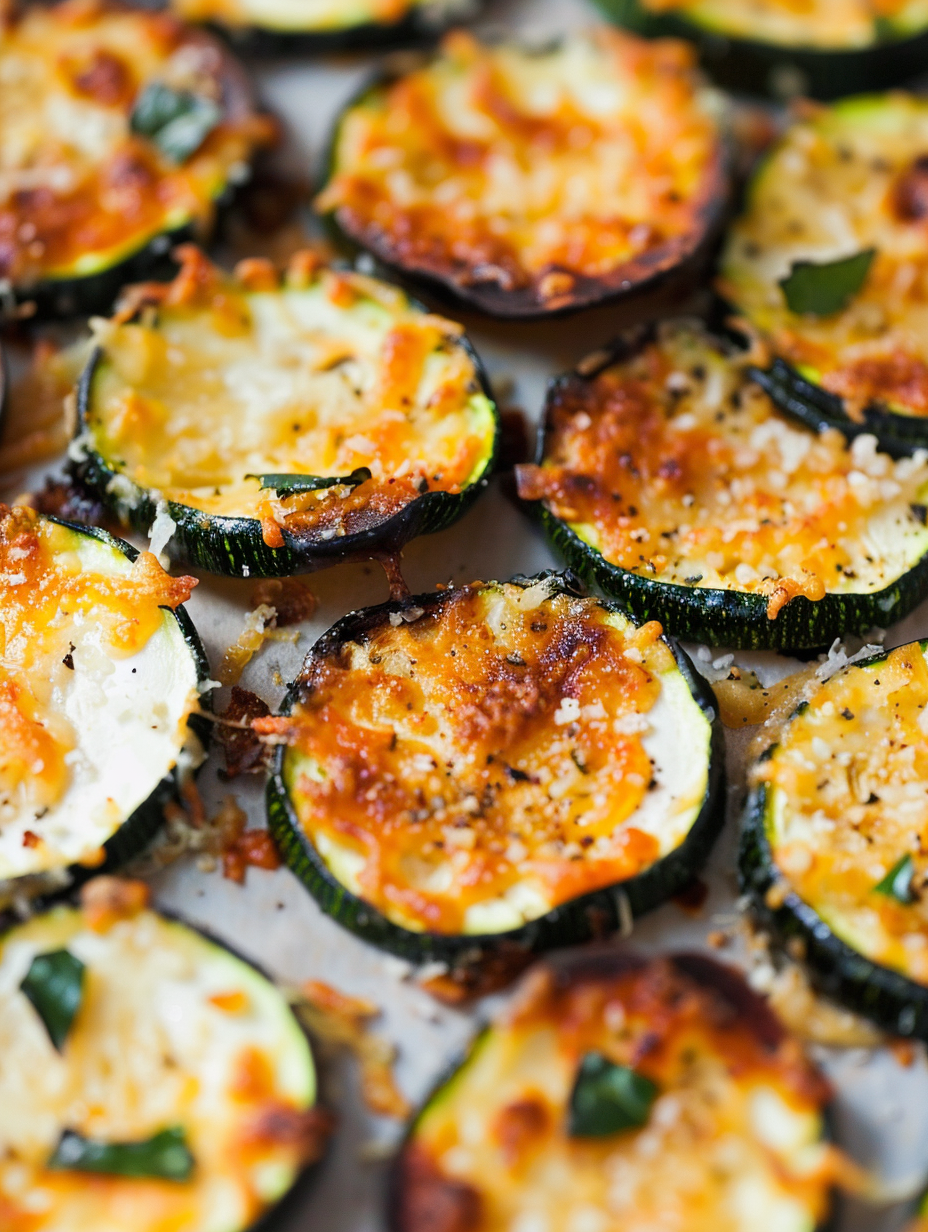
This baked zucchini chips recipe has been my go to for lighter snacking since I first tested it on a humid summer afternoon when garden zucchini were overflowing the counter. I wanted something salty and satisfying that would not undo a careful eating plan and that everyone in the house would enjoy. The result was crunchy rounds with a golden parmesan crust that tasted indulgent while being wonderfully low in carbohydrates. My partner and I ended up comparing them to our favorite store bought crisps and agreeing that these homemade rounds had a brightness and fresh vegetable flavor you do not get from processed snacks.
I discovered the technique by experimenting with thinner slices and a simple oil and spice coating. What makes this version special is the small details that add texture and aroma. A light toss in olive oil allows the cheese to adhere and brown evenly. A quick optional salting step draws out moisture to prevent sogginess. Baking at 375 F crisps the edges while keeping the centers tender but not limp. These chips are perfect for parties, game day gatherings, or a quick afternoon nibble when you want something crunchy but not heavy.
When I first served these to friends at a backyard gathering they disappeared in minutes. People kept asking how something so simple could taste so fresh and satisfying. Over time I refined the thickness of the slices and the timing so the top browns without burning. That small tuning made all the difference and turned a good idea into a go to snack.
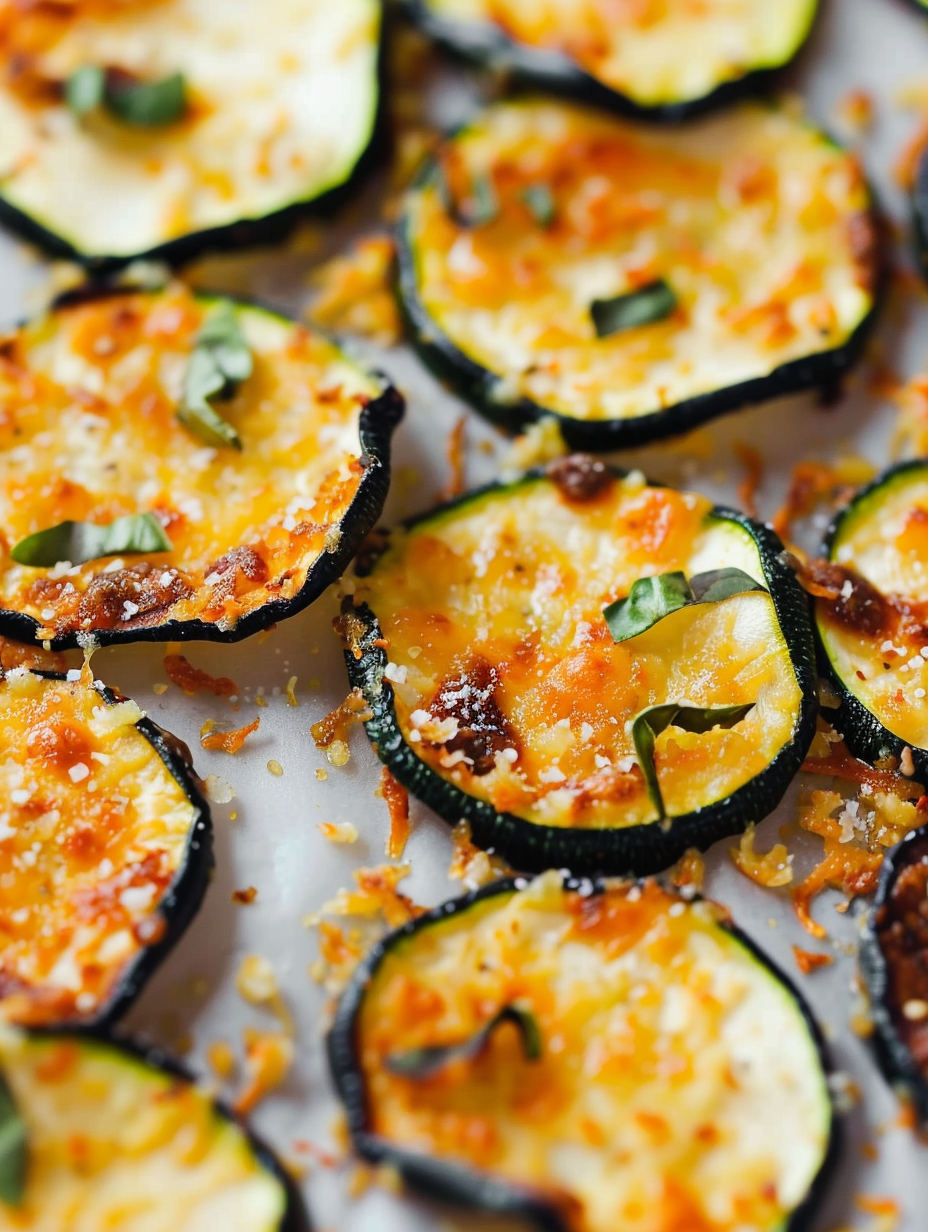
What I love most about this version is how the parmesan adds a savory crunchy crust that makes zucchini feel like a treat rather than a vegetable. On a busy weeknight I sometimes double the batch and keep them in a cookie tin for a couple of days. Serving them alongside a tangy yogurt dip always makes them disappear first at parties.
Allow the rounds to cool completely before storing to avoid steam building up. Place them in a single layer in an airtight container lined with a paper towel to absorb any residual moisture. Keep at room temperature rather than refrigerating which can introduce moisture and soften them. If you need to keep them longer freeze on a tray first and then transfer to a resealable bag for up to three months. Reheat at 250 F for five to seven minutes to re crisp when needed.
If you do not have parmesan, substitute with finely grated cheddar for a different flavor or a vegan parmesan for a dairy free version keeping in mind texture will change. Swap olive oil for avocado oil for a neutral taste and higher smoke point. For a dairy free and vegan option skip the cheese and dust the rounds with a mixture of nutritional yeast, almond flour and a pinch of smoked paprika to mimic umami and browning.
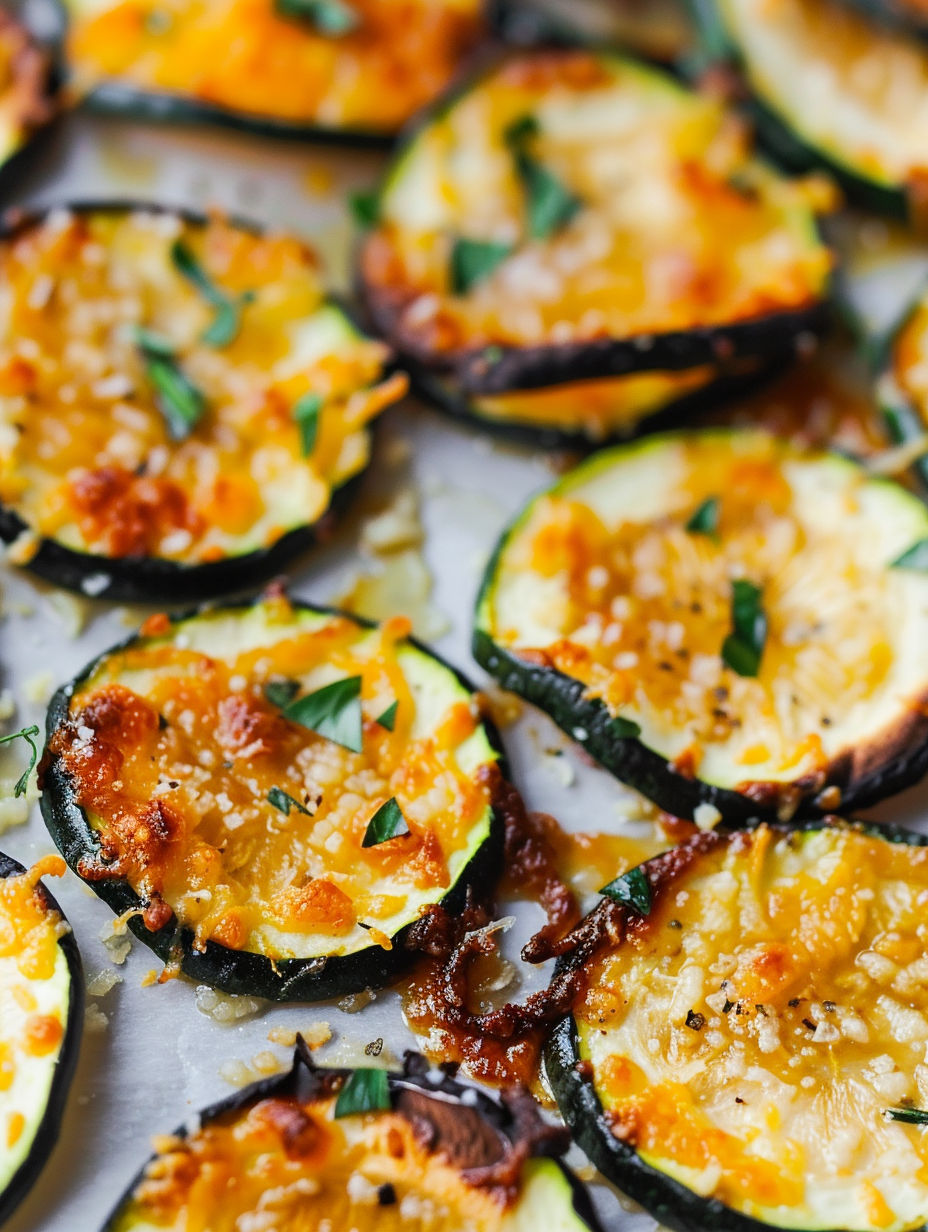
Serve these rounds with a creamy dip such as tzatziki, whipped feta dip or a tangy yogurt ranch. They pair well with sliced charcuterie and roasted red pepper spread for a party platter. For a light lunch present them atop a bed of mixed greens with a squeeze of lemon and a sprinkle of fresh herbs. Garnish with chopped chives or basil for a fresh finish.
Thinly sliced and oven crisped vegetables are a technique found in many cooking traditions where texture is prized. The idea of turning a humble vegetable into a crunchy snack is modern and crosses cultures, blending Mediterranean ingredients like olive oil and parmesan with contemporary snack trends. This particular combination highlights the Italian love of cheese paired with simple produce while adapting to current low carbohydrate preferences.
In summer use fresh garden zucchini and add lemon zest for brightness. In autumn swap zucchini for thinly sliced sweet potato or beet rounds and increase baking time until fully crisp. For holiday occasions add rosemary and a pinch of cracked black pepper for an herb forward variation. Lightly dusting with smoked paprika brings a cozy depth for cooler months.
To prepare for the week slice a large batch and partially bake them until the edges set but before full browning. Cool and store in an airtight container. When ready to eat finish crisping in the oven at 375 F for five to seven minutes. This two stage approach saves hands on time during busy evenings and keeps texture fresh.
These baked zucchini rounds are simple to make and full of personality. They combine thoughtful technique with familiar flavors and make it easy to enjoy a crunchy snack without guilt. Try the optional salty rest step for maximum crisp or experiment with spice blends to make the recipe your own.
Slice the zucchini uniformly using a mandoline for consistent crisping.
Optional salting for 15 to 20 minutes removes excess moisture and improves crunch.
Use freshly grated Parmigiano Reggiano for best browning and flavor.
Avoid overcrowding the baking sheet to prevent steaming.
Cool the chips fully before storing and use a paper towel lined container to absorb moisture.
This nourishing baked zucchini chips recipe is sure to be a staple in your kitchen. Enjoy every moist, high protein slice — it is perfect for breakfast or as a wholesome snack any time.
Yes. Slice the zucchini thin and optionally salt them for 15 to 20 minutes then pat dry to remove excess moisture before baking.
Arrange in a single layer in the air fryer basket and cook at 360 F for about 10 to 15 minutes, shaking the basket halfway through.
If the chips soften, re crisp them in an oven set to 250 F for a few minutes on a baking sheet.
This Baked Zucchini Chips recipe makes perfectly juicy, tender, and flavorful steak every time! Serve with potatoes and a side salad for an unforgettable dinner in under 30 minutes.
Preheat oven to 375 F and position rack in the center. Lightly spray a rimmed baking sheet with cooking spray or brush with olive oil. Use one or two sheets to keep slices single layered.
Wash and dry zucchini then slice uniformly about one sixth inch thick using a mandoline or sharp knife. Uniform slices ensure even baking and consistent texture.
To remove excess moisture lightly salt slices and let sit 15 to 20 minutes. Blot released liquid with paper towels before proceeding to ensure crispness.
In a mixing bowl combine olive oil, salt, pepper, paprika and garlic powder. Toss zucchini gently to coat each round with the seasoning mixture.
Lay slices in a single layer on the prepared sheet. Sprinkle evenly with grated parmesan. Bake for 15 to 17 minutes until cheese is golden and edges are crisp.
Allow the rounds to cool on the baking sheet for five minutes for firming. Transfer to a wire rack if possible and serve warm or at room temperature.
Last Step: Please leave a rating and comment letting us know how you liked this recipe! This helps our business to thrive and continue providing free, high-quality recipes for you.
Leave a comment & rating below or tag
@velvetyum on social media!

Tender grilled zucchini rolled with a basil-kissed ricotta filling, nestled in marinara, and baked until the mozzarella bubbles and turns golden.

Golden, garlicky rounds with a deep-fried crunch made lighter in the air fryer. A fast, vitamin-packed side everyone devours.

Tender chicken meatballs simmered in marinara, finished with melted mozzarella and basil for cozy, weeknight Italian comfort in every bite.
Leave a comment & rating below or tag @velvetyum on social media!
Enjoyed this recipe? Share it with friends and family, and don't forget to leave a review!
This recipe looks amazing! Can't wait to try it.
Comments are stored locally in your browser. Server comments are displayed alongside your local comments.

Join to receive our email series which contains a round-up of some of our quick and easy family favorite recipes.
